
Prerequisites
It is presumed you already have the necessary tools installed and are ready to go. If you are not there yet, see Installing Tools (Mac).
HelloGrasshopper 2
We will use Visual Studio Code and the dotnet Rhino Grasshopper template to create a new, basic, Grasshopper 2 component called HelloGrasshopper 2.
If you are familiar with Visual Studio Code, these step-by-step instructions may be overly detailed for you. The executive summary: create a new Solution using the Grasshopper 2 Component dotnet template, build and run, and then make a change.
We are presuming you have never used Visual Studio Code before, so we’ll go through this one step at a time.
Download the required template
- Launch Visual Studio Code.
- Open Visual Studio Code’s Terminal via Terminal (menu entry) > New Terminal, or using the command palette (⌘ ⇧ P) and search for “Terminal”.
- Inside Terminal, run:
dotnet new install Rhino.Templates
Starting the Project
- Create a folder on your mac where you would like your project to live. Name the folder
HelloGrasshopper2. - If you have not done so already, launch Visual Studio Code.
- Now we can open our new folder, navigate to File > Open Folder and choose the folder we just created.
- Open Terminal via Terminal > New Terminal, or using the command palette (⌘ ⇧ P) and search for “Terminal”.
- Enter the following command into the Terminal:
dotnet new gh2 --version 8 -sample - In our Folder explorer, we should see the project appear as Visual Studio Code discovers the files.
- Expand the Solution Explorer, this is the best way to interact with C# projects on Mac in Visual Studio Code.
Boilerplate Build
-
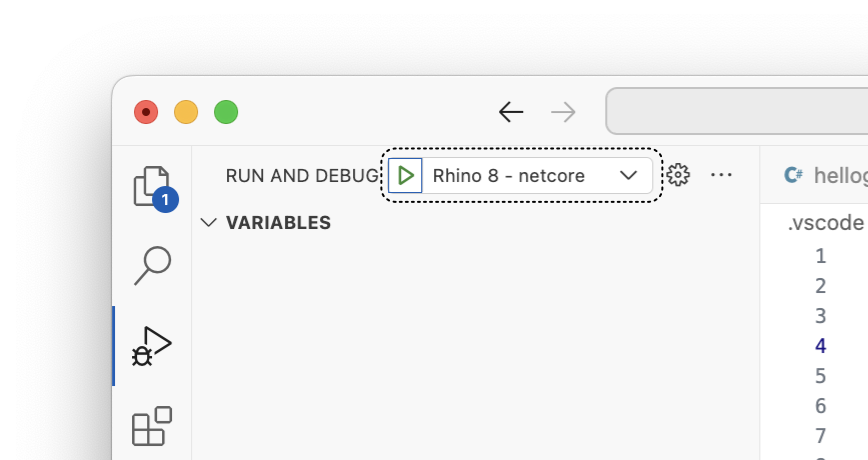
Before we do anything, let’s Run and Debug HelloGrasshopper 2 to make sure everything is working as expected. We’ll just build the boilerplate Plugin template. Click the Run and Debug button on the left hand side of Visual Studio Code and then the green play button in the newly opened panel.
-
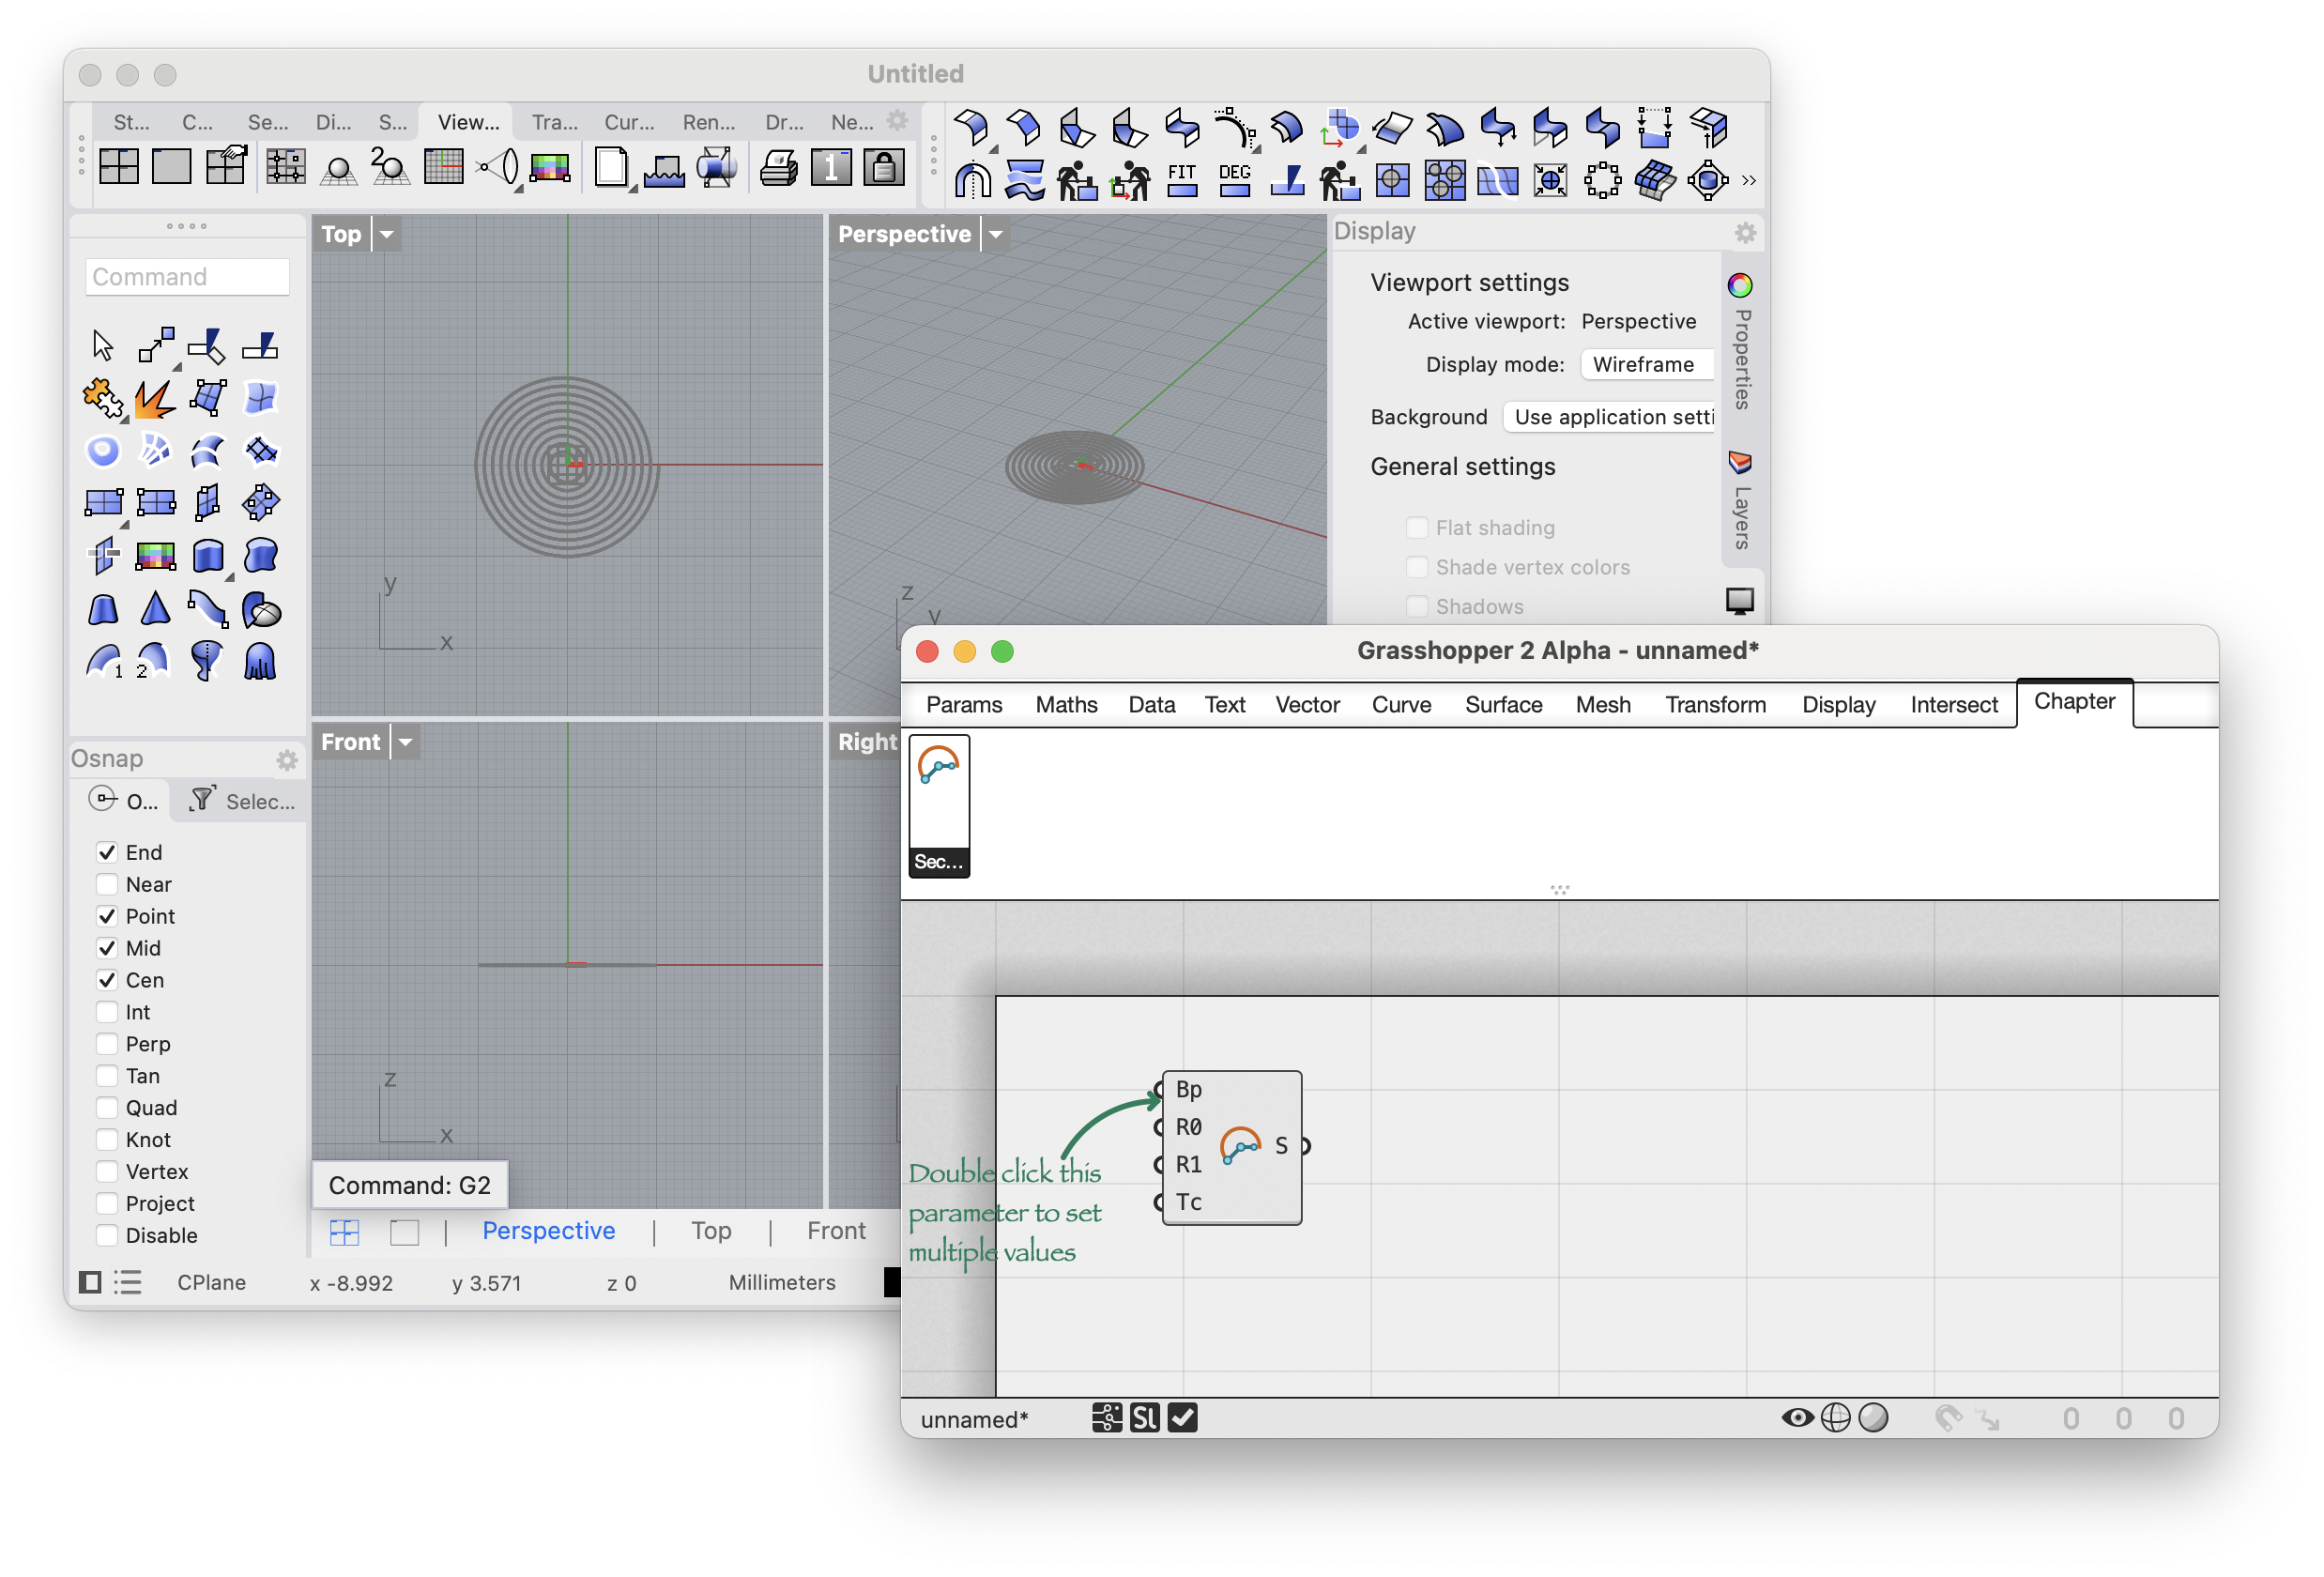
Rhinoceros and Grasshopper 2 launch.
-
We will find the HelloGrasshopper 2 Component under Chapter / Section
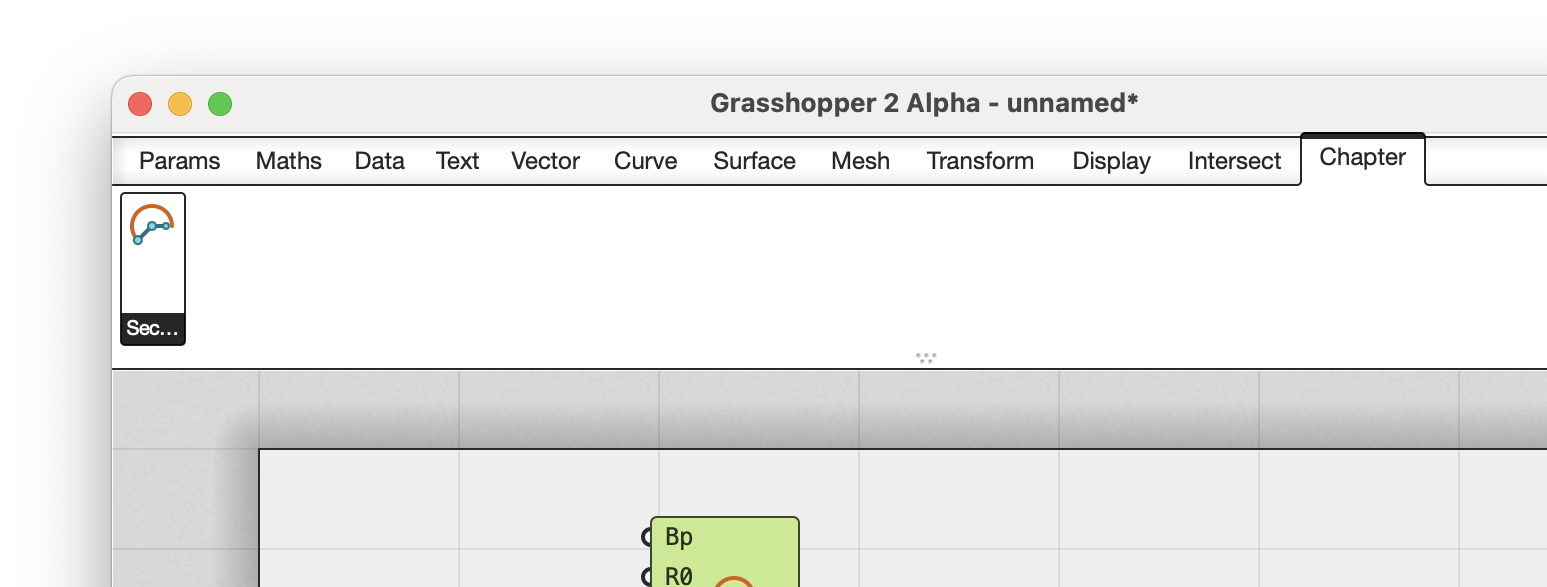
- Adding the component to the canvas will run the component and output some interesting geometry in the Rhino Viewport
- Press Stop Debugging (⇧ F5), in Visual Studio Code, signified by the Red Square in the debug toolbar. This stops the debugging session. Now let’s n take a look at the Plugin Anatomy.
Component Anatomy
Use the Solution Explorer to expand the Solution (.sln) so that it looks like this…
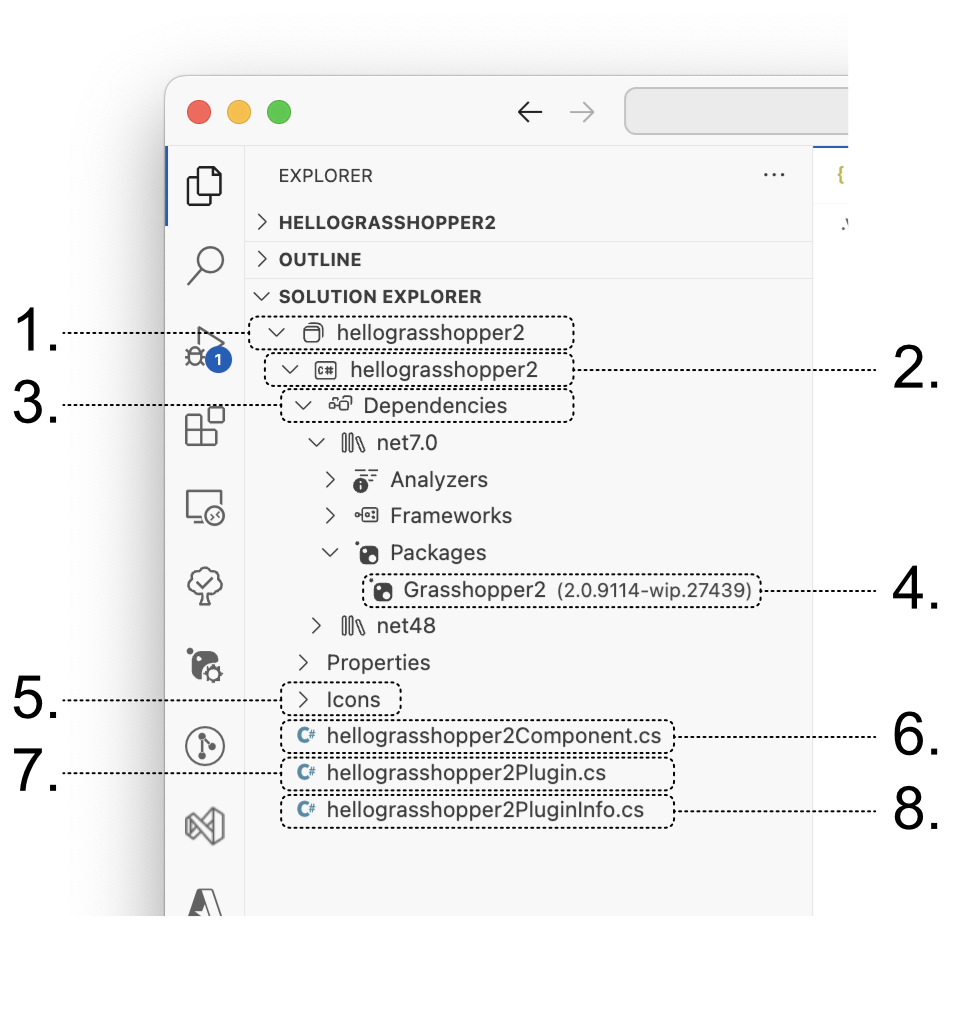
- The HelloGrasshopper2 solution (.sln)
- The HelloGrasshopper2 project (.csproj) has the same name as its parent solution…this is the project that was created for us by the template earlier.
- References: Just as with most projects, you will be referencing other libraries. The template added the necessary references to create a basic Grasshopper 2 component.
- Grasshopper2 is the Rhino for Mac main grasshopper DLL. Classes in this DLL are subclassed and used by your custom component.
- Icons All Icons should be placed in Icons to load automatically.
- HelloGrasshopper2Component.cs is where a custom
Grasshopper.Components.Componentsubclass is defined. Your project may contain multiple subclasses of Component if you want to ship multiple components in a single gh2 plugin*. - HelloGrasshopper2Plugin.cs is where the Grasshopper Plugin is defined.
- HelloGrasshopper2Info.cs defines general information about this gh2 plugin.
Debugging
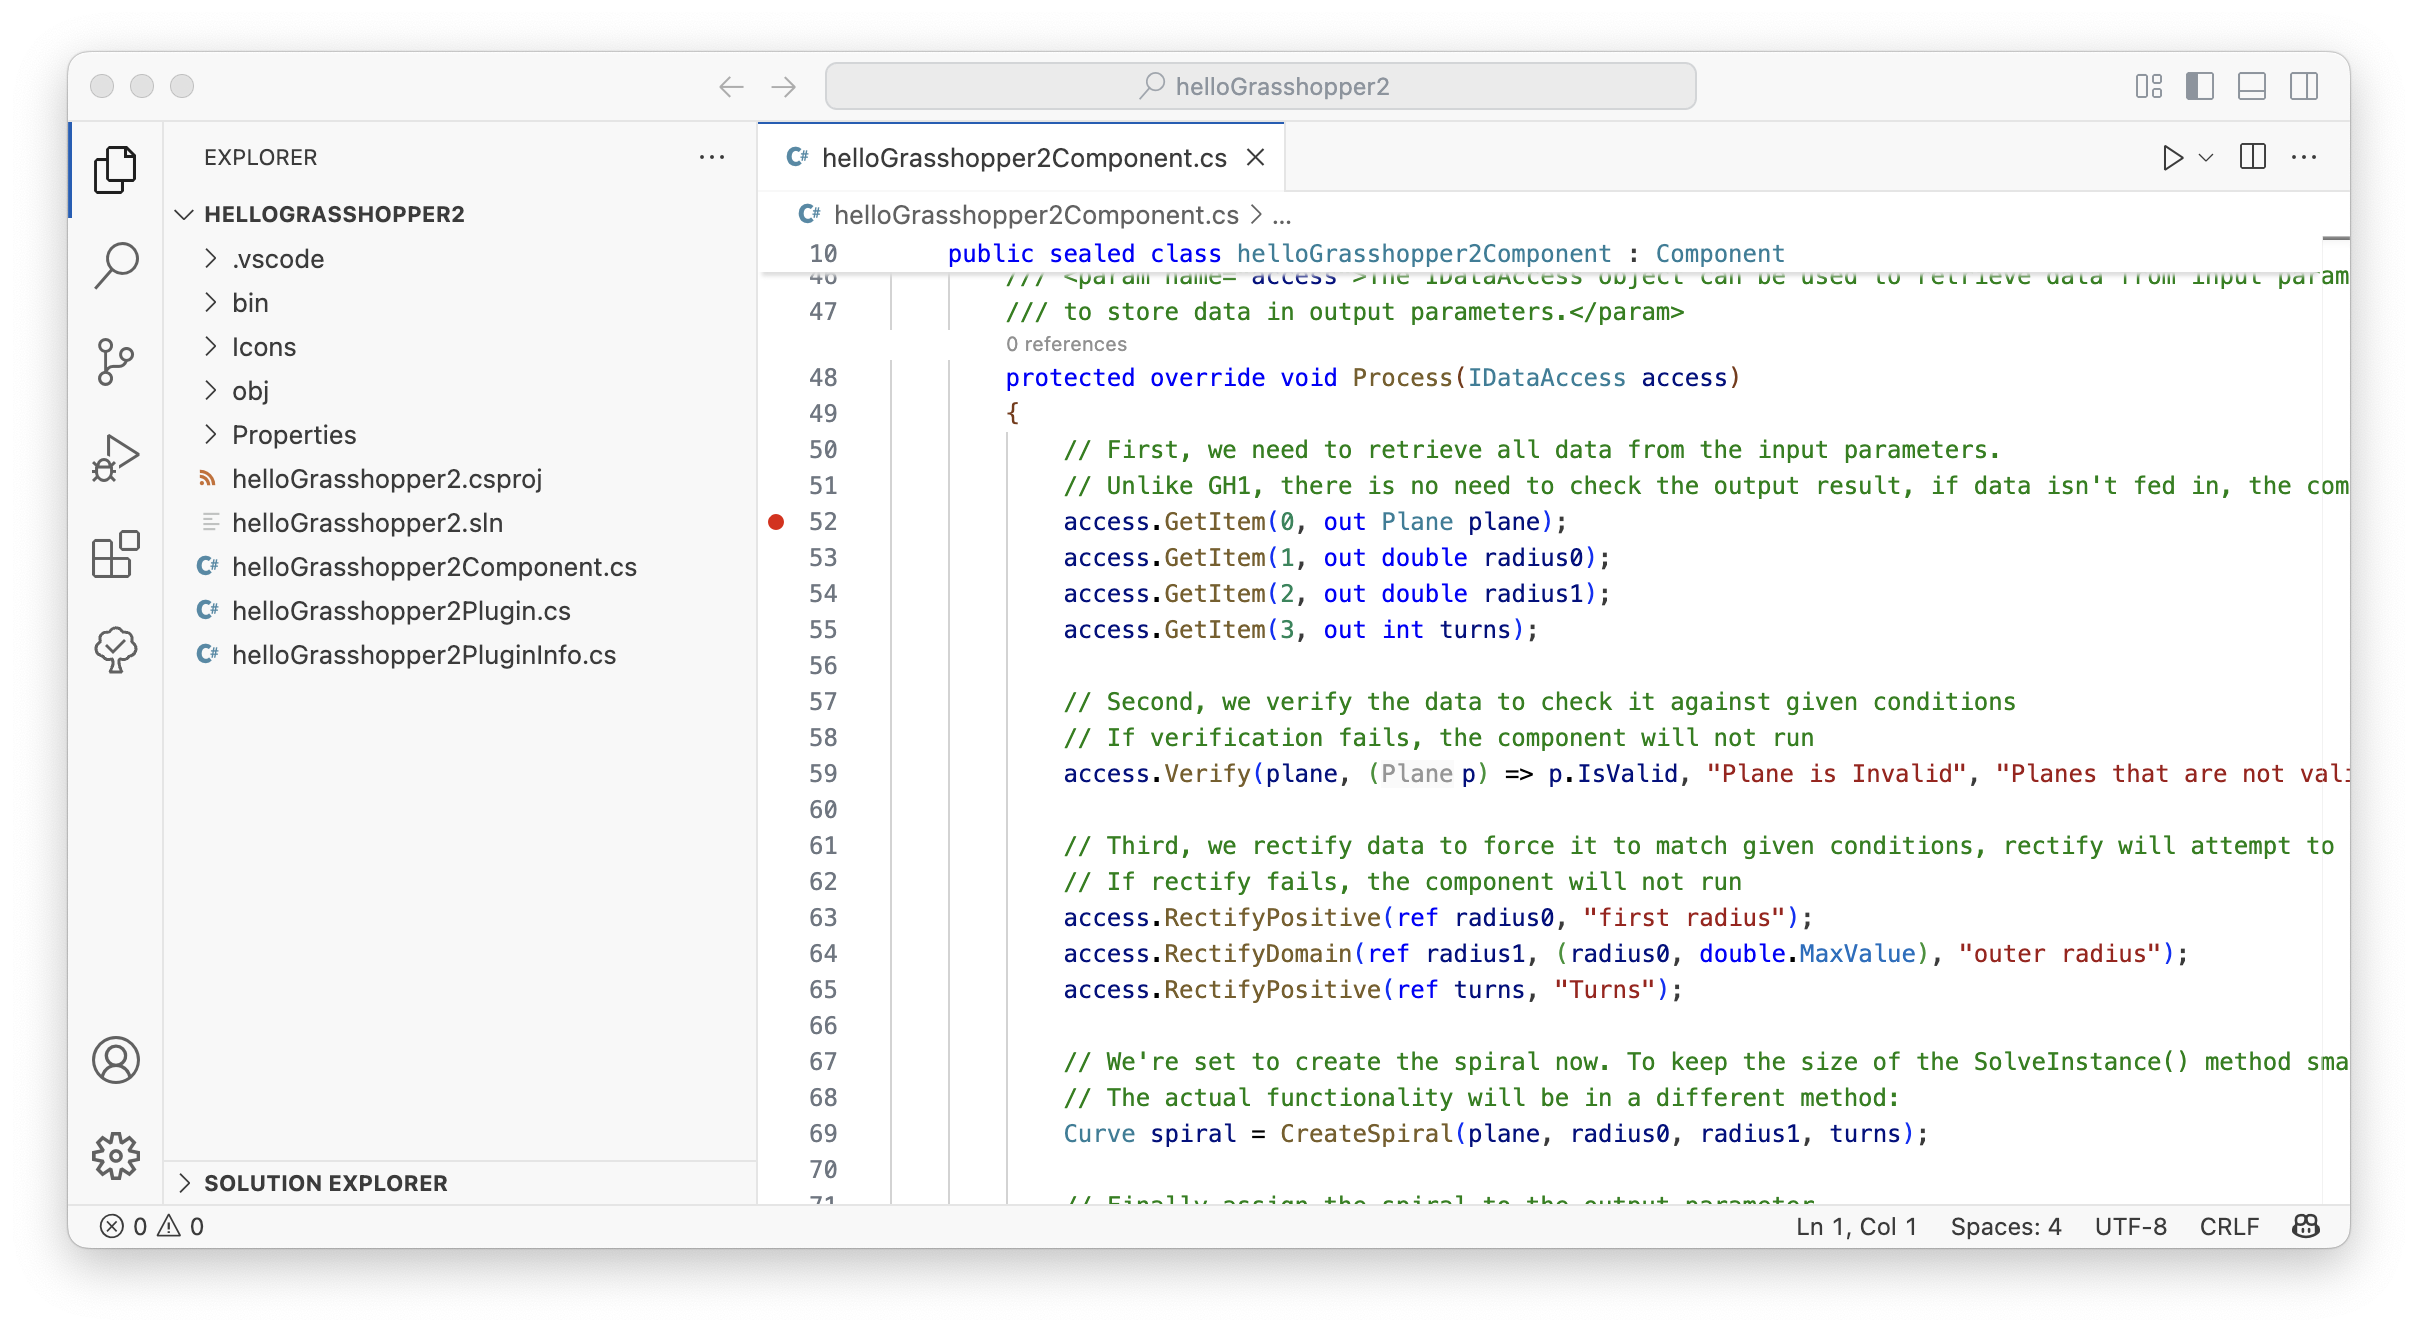
- Add a breakpoint to line 52 of HelloGrasshopper 2Component.cs. You set breakpoints in Visual Studio Code by clicking in the gutter to the left of the line numbers.
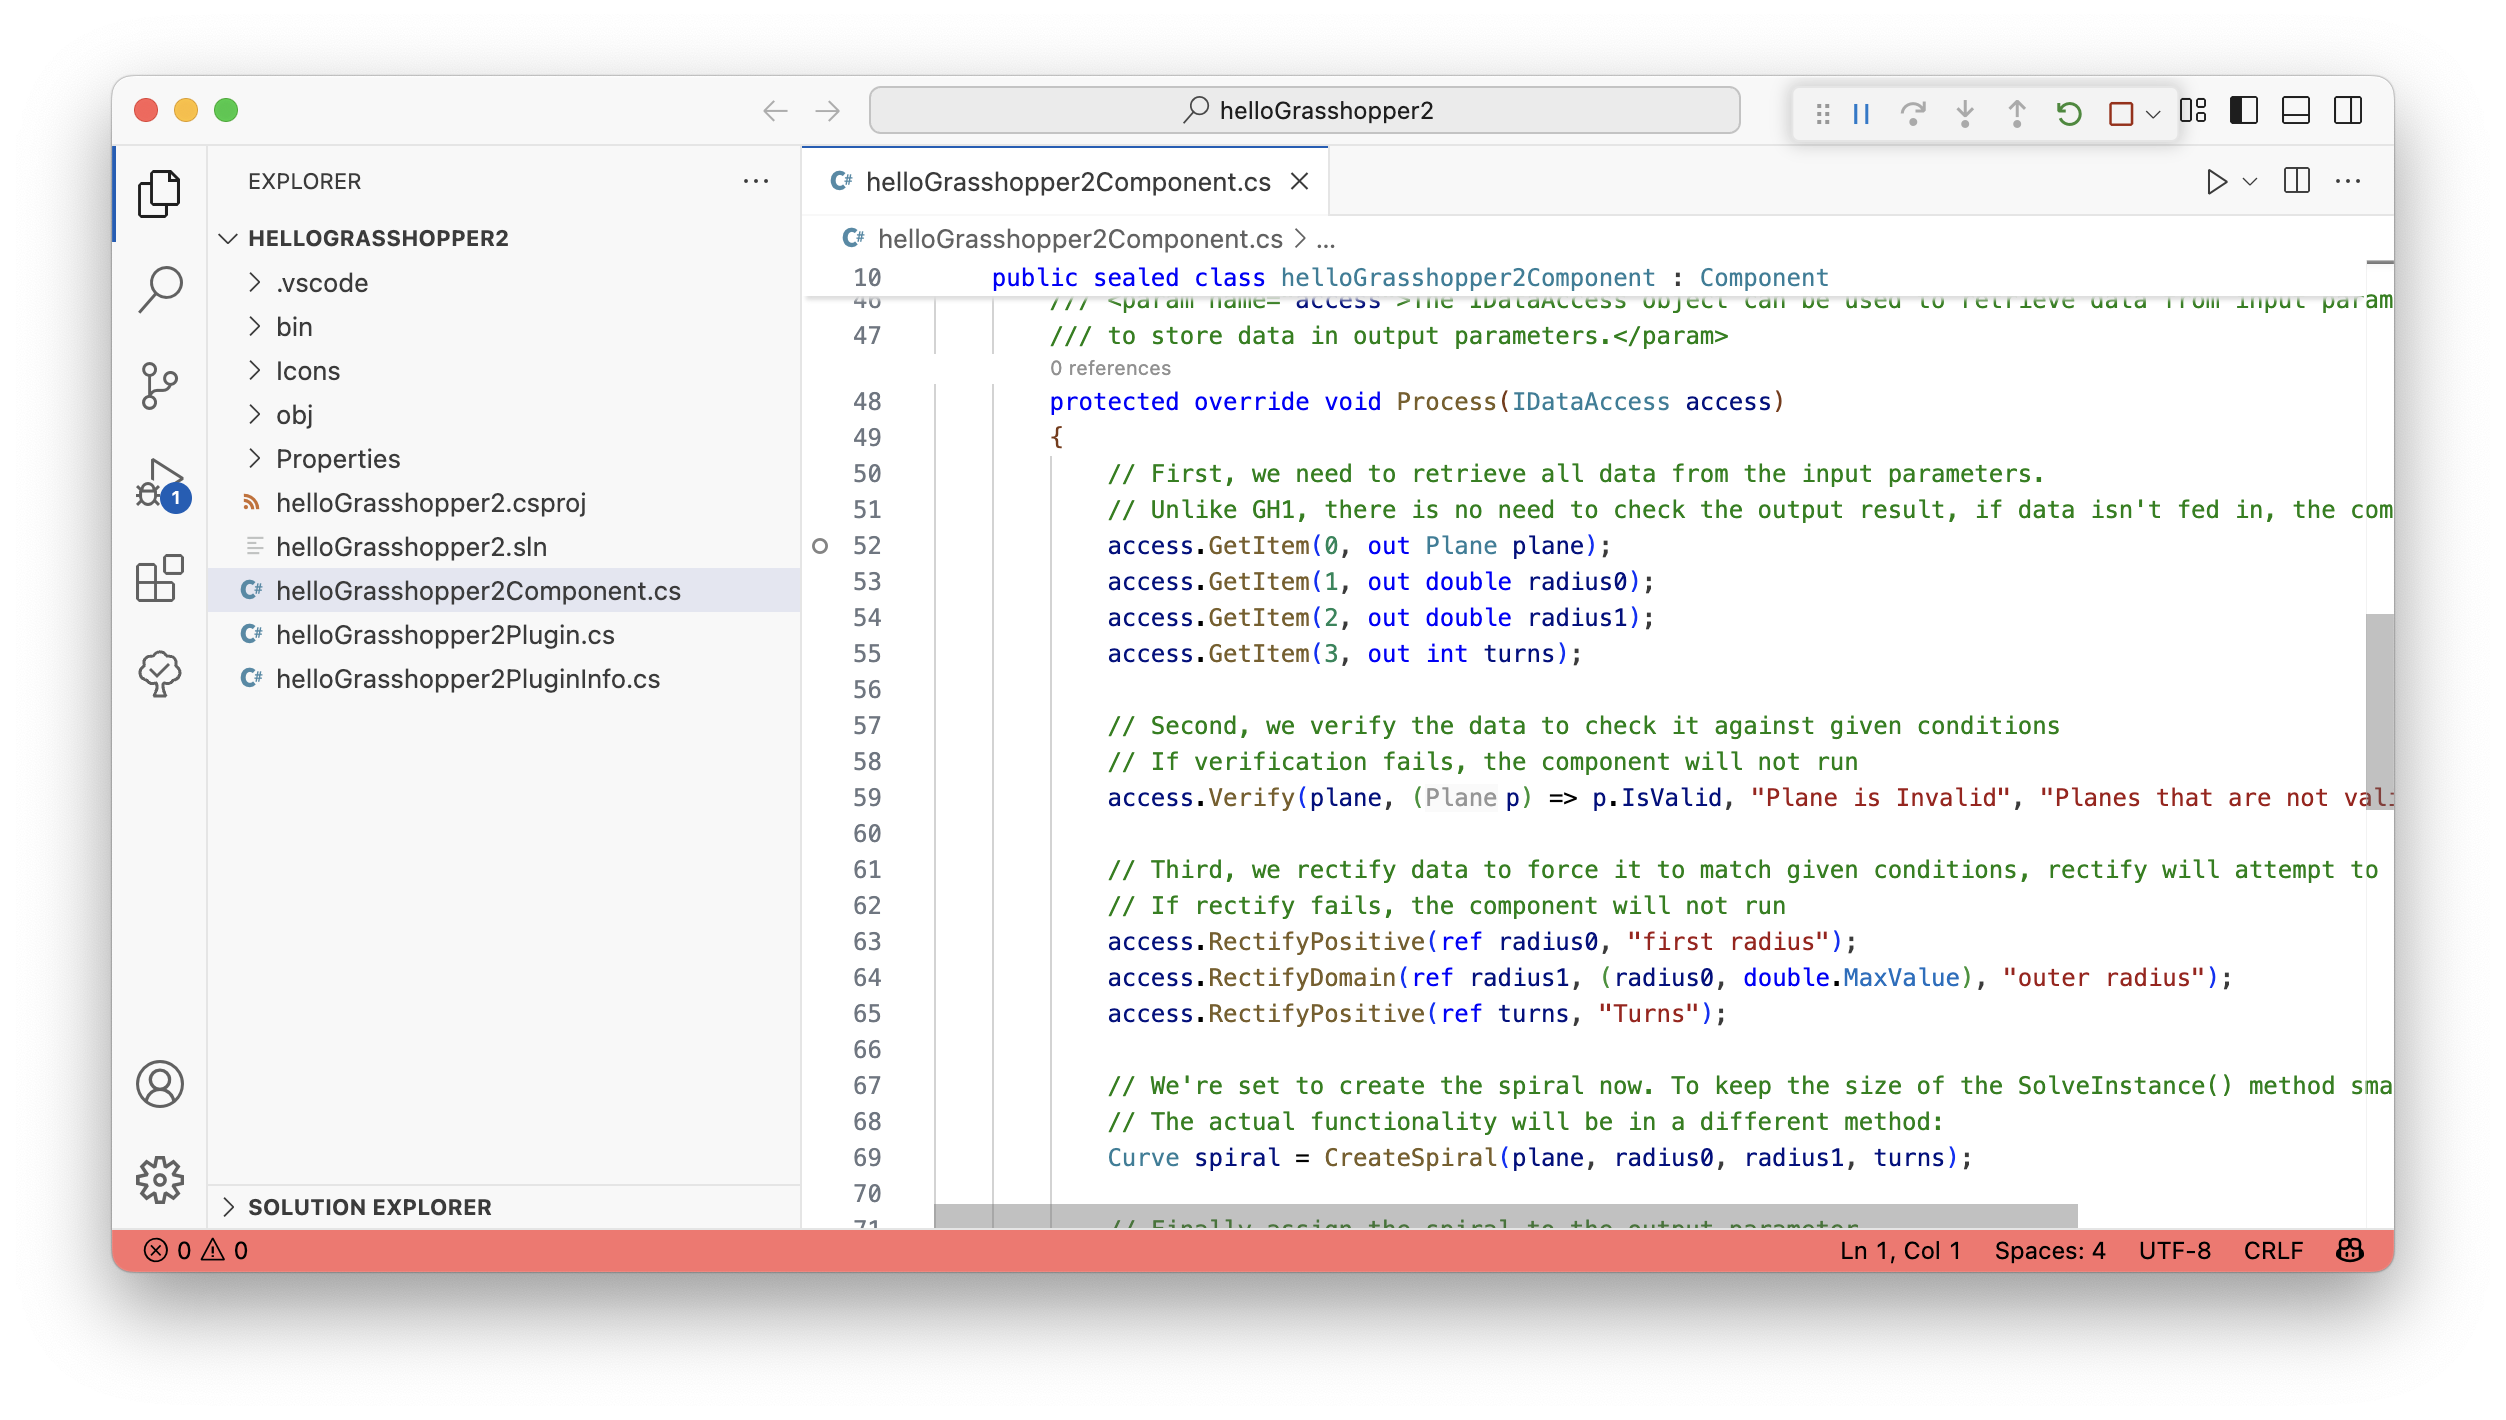
- Run and Debug. our project. The breakpoint will become an empty circle, this is because our code has not been loaded yet. Once we hit the breakpoint once and continue, the code will be loaded until we end our Debug session.
- Rhino and Grasshopper 2 should open, if Grasshopper 2 does not open, click “New Model” and run the G2 command.
- Place our sample component HelloGrasshopper2Component and as soon as you do, you should hit your breakpoint and rhino/Grasshopper 2 will pause (You may need to drag the Grasshopper 2 window out of the way to see Visual Studio Code)
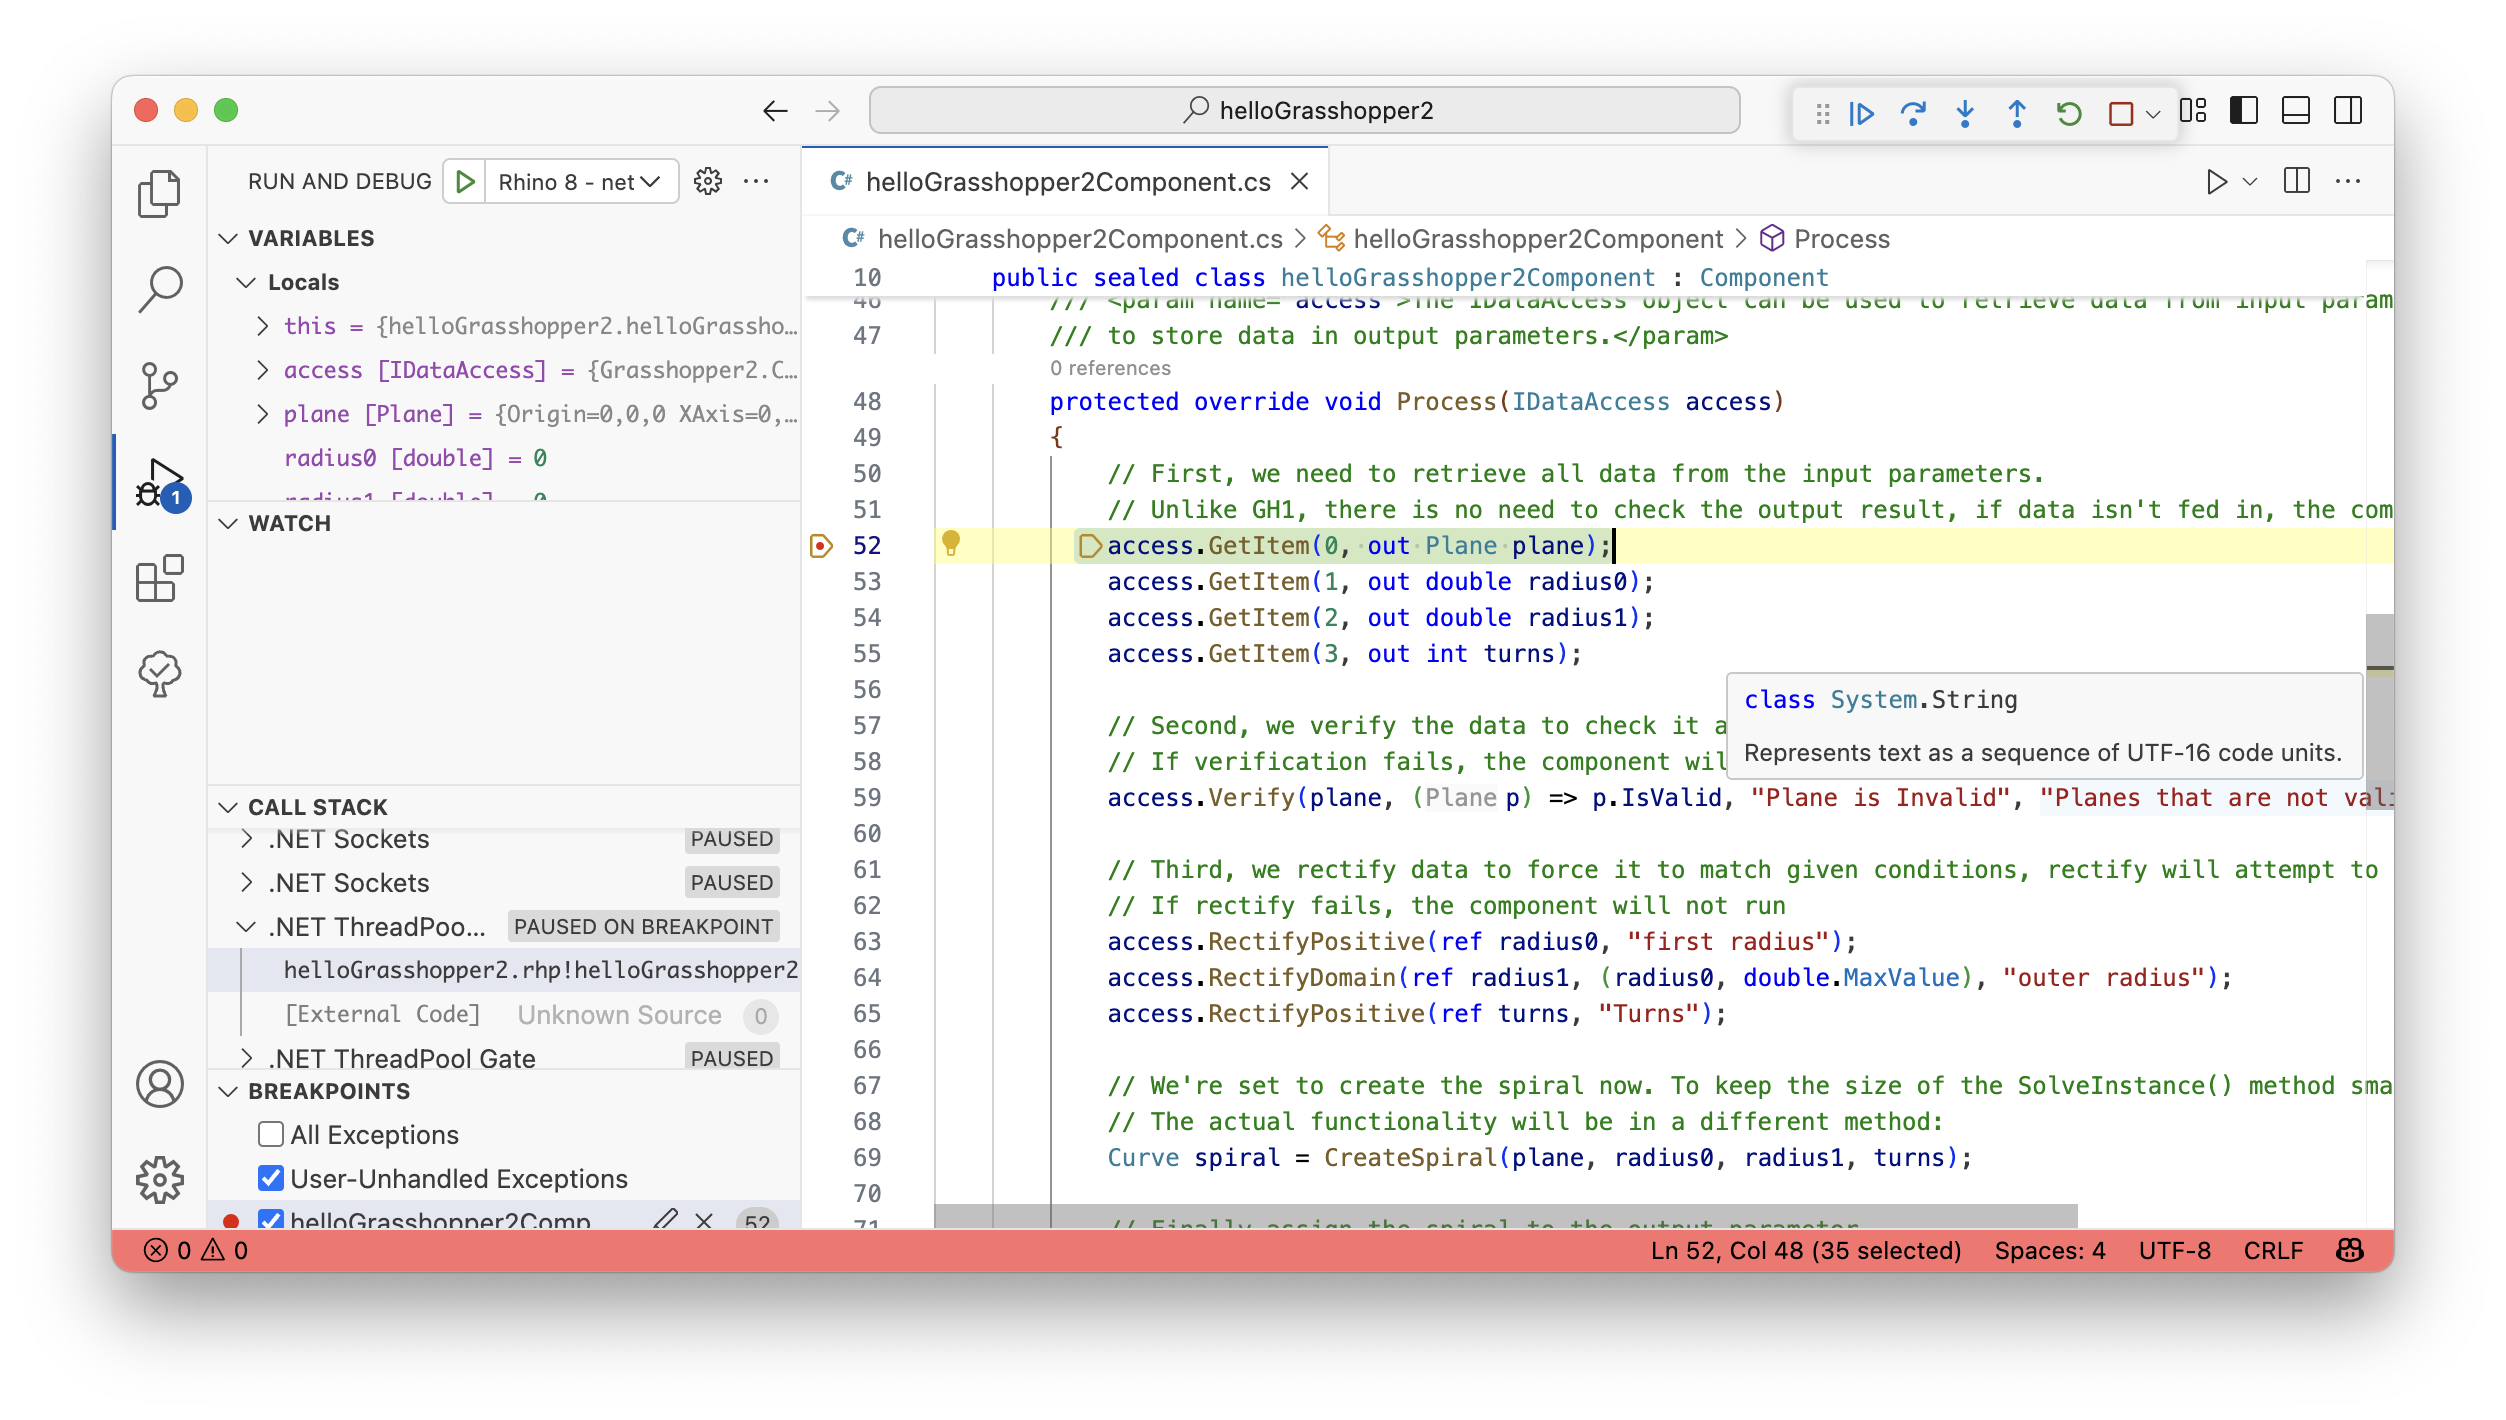
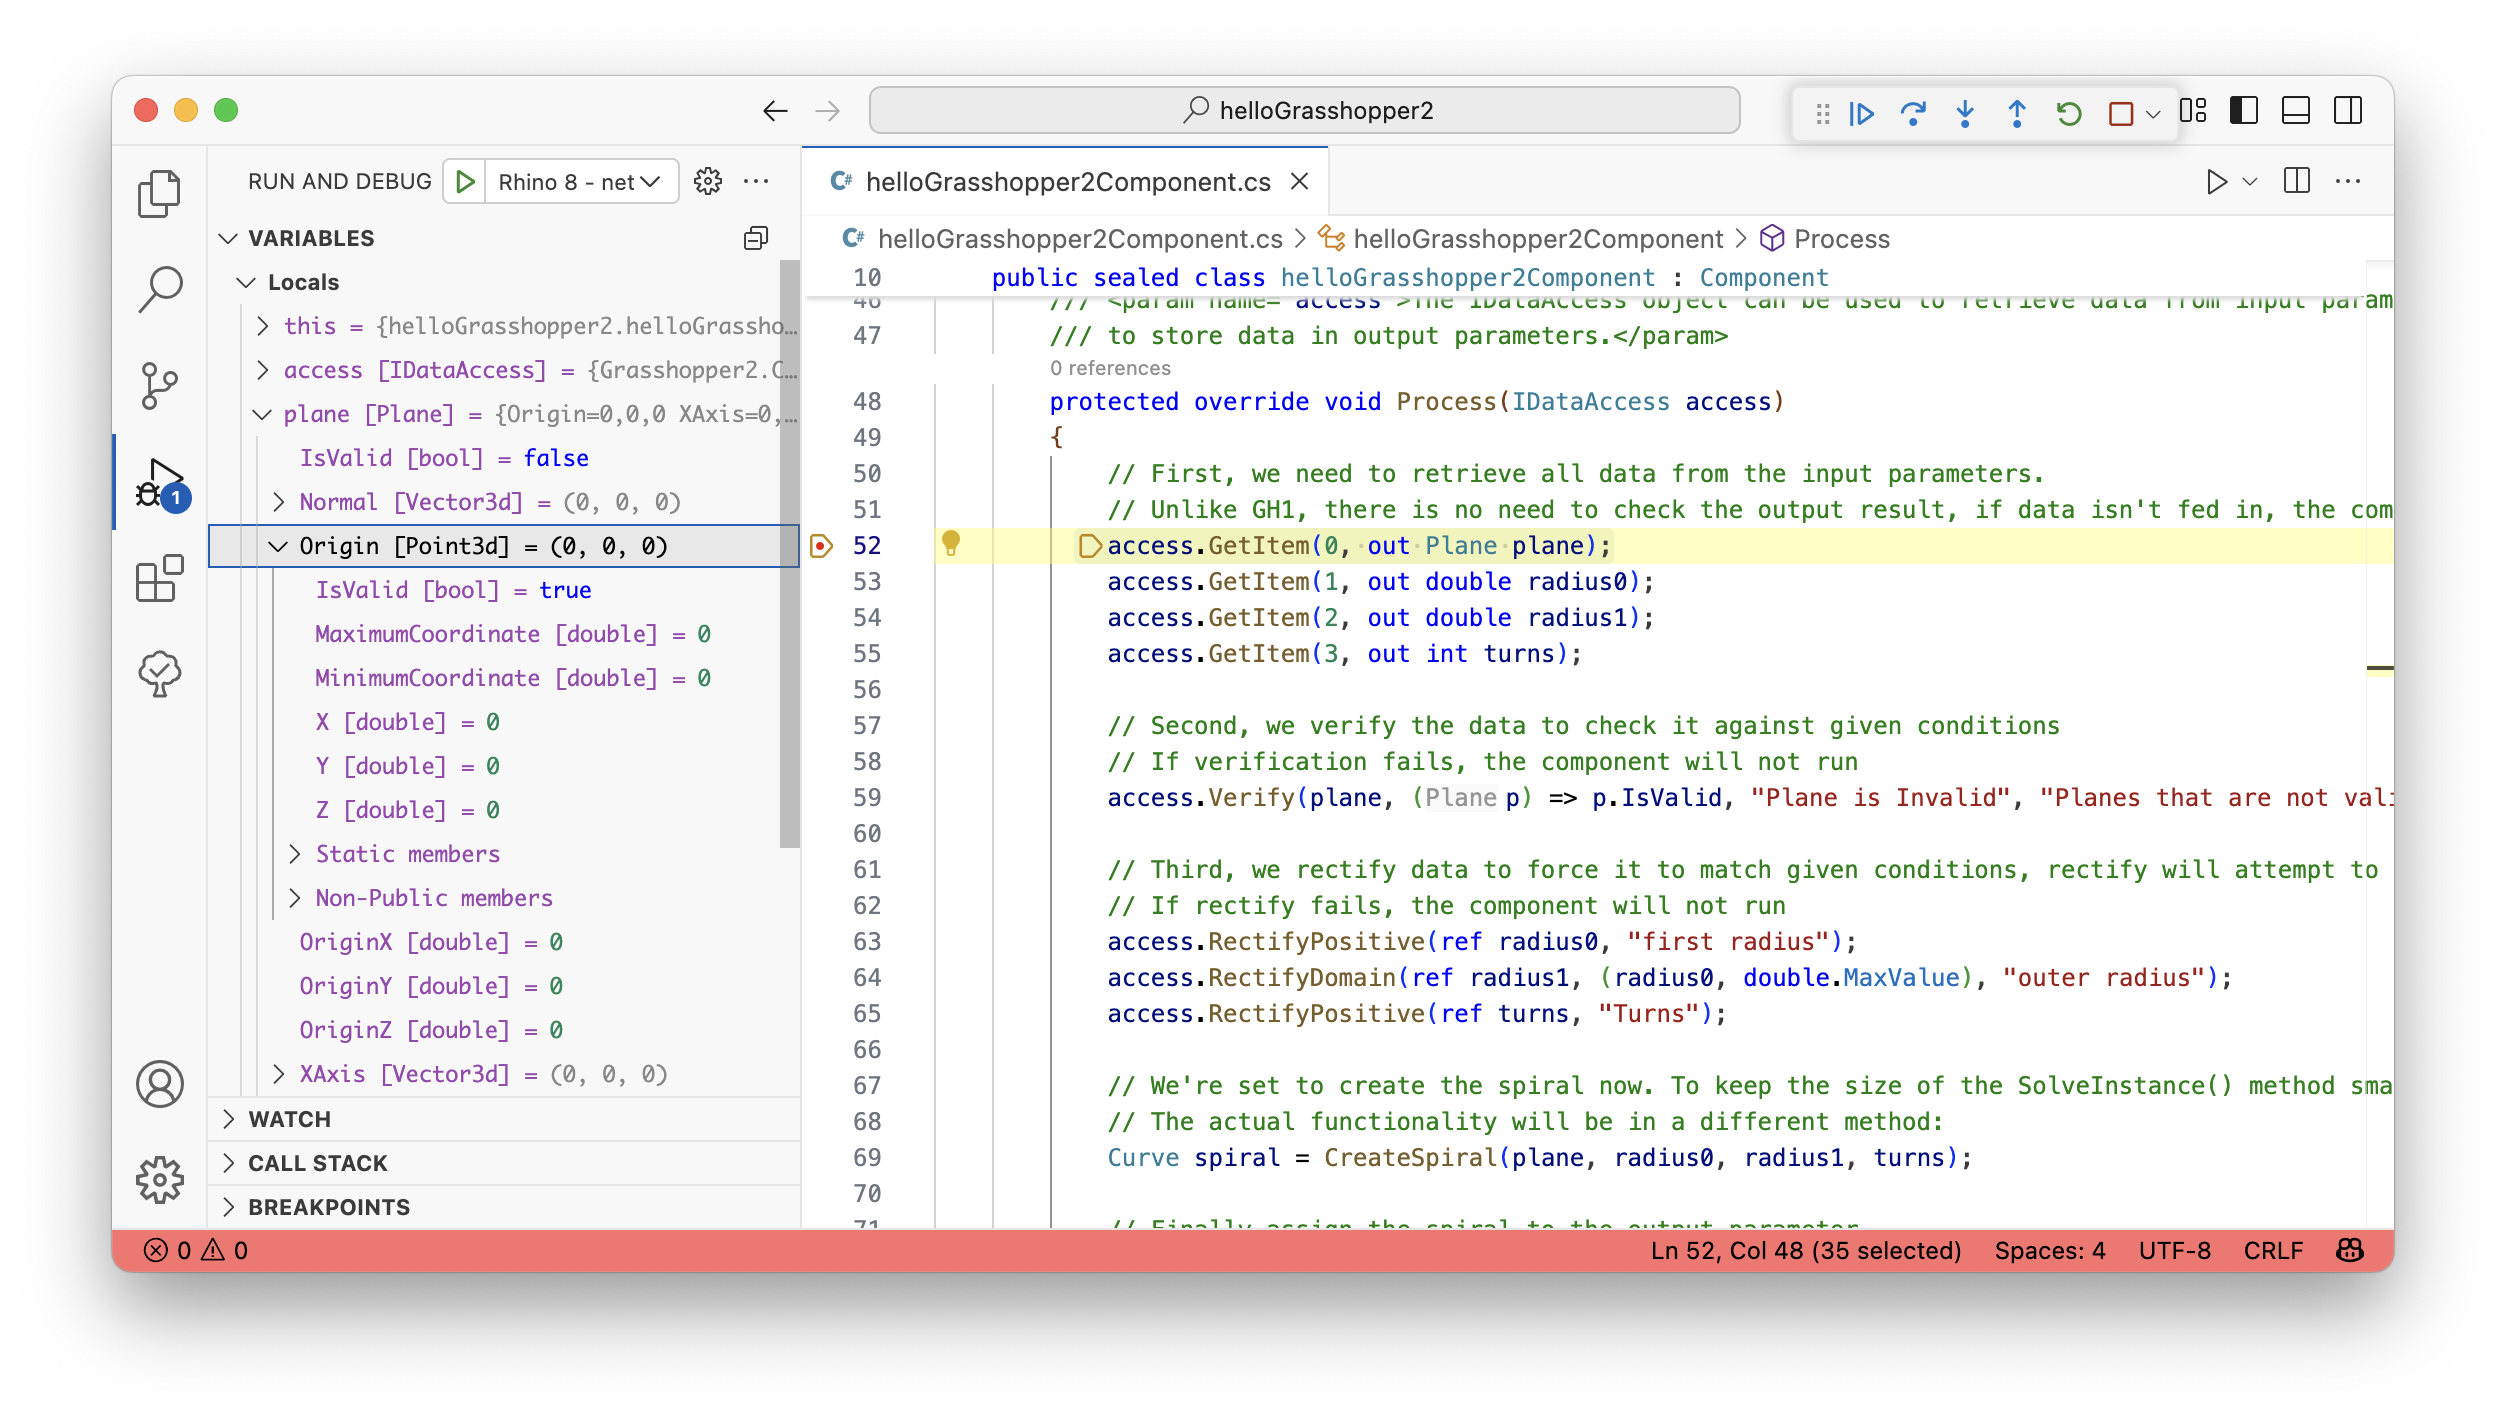
- With Rhino/Grasshopper 2 paused, in Visual Studio Code we will see Locals under Variables. You can inspect all of the values for the variables in your component.
- Let’s Continue Execution in Rhino and Grasshopper 2 by pressing the Green Play button in the Debug Bar
- Control is passed back to Rhino / Grasshopper 2 and your command finishes. Now Stop (⇧ F5) the debugging session as before.
- Remove the breakpoint you created above by clicking on it in the gutter.
Congratulations! You have just built your first Grasshopper 2 component for Rhino for Mac.
