
Android provides Emulators and iOS provides simulators, each with their benefits and weaknesses.
Android Emulators
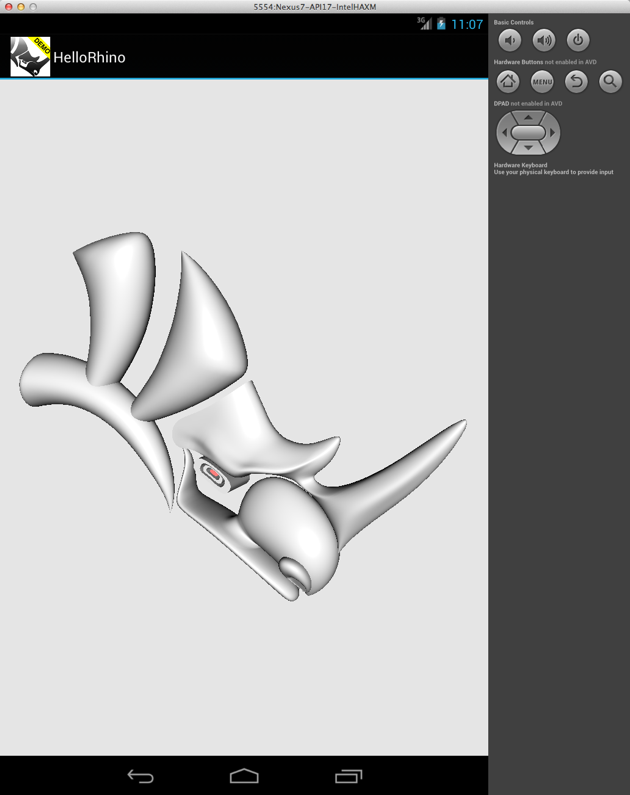
Android Emulators are a decent approximation of actual devices themselves, though performance may vary slightly. The Android Emulator does a good job virtualizing hardware configurations and failing when they should (you can limit the amount of memory, for example, in a way that is not possible with the iOS simulator). That said, it’s still important to test on actual devices, esp. given the functional limitations of the emulator (no multitouch, for example) and the wide variety of Android devices in the marketplace with their diverse hardware configurations and capabilities. Once setup properly, the emulators can get you a long way in the development process before testing on actual devices.
Rotation & Multi-touch
The following key combinations can be used to rotate emulators:
- fn + control + F12 = Rotate Emulator (macOS)
- left-control + F12 = Rotate Emulator (Windows)
Note: You cannot simulate multiple touches on the Android Emulator
Emulator File System
The best way to access the internals of an Android device or an Emulator is to use the Android Debug Bridge (ADB) which comes bundled with the Android SDK as part of the Xamarin Toolkit. The ADB comes with a shell utility that allows you to browse the Android file system as if you were a standard Linux file system - which it is. Running adb shell on a Mac is slightly different from running it on Windows, but here are the basics.
macOS
Before launching into the adb tools, let’s make sure that the Android SDK and NDK are part of our bash terminal environment. Open your .bash_profile (in your ~ or home folder) with a trusty text editor (we recommend TextWrangler or BBEdit). Add the following lines to your profile if they are not already there:
export ANDROID_SDK="/Users/you/Library/Developer/Xamarin/android-sdk-mac_x86/"
export ANDROID_NDK="/Users/you/Library/Developer/Xamarin/android-ndk/android-ndk-r8d/"
export PATH="$PATH:$ANDROID_SDK/tools:$ANDROID_SDK/platform-tools:$ANDROID_NDK"
export _JAVA_OPTIONS="-Xmx1g"
The first two lines tell your bash environment where to look for the Android SDK and NDK. The _JAVA_OPTIONS=”-Xmx1g” increases the heap size that Xamarin Studio can use for Java native binaries.
Save your profile and launch a Terminal window. You should now be able to type adb shell. If you don’t have an Emulator running or a device plugged in, you will get an error: device not found response. That’s fine, it means adb shell is setup. Plugin a device or launch and emulator and try the adb shell command again. Now you should see something like the following in your terminal:

You may use many standard linux commands to get around and mess with files. Note there are a number of special commands for pushing and pulling file on and off the device/emulator. See the Android ADB documentation for a handy list. Data for many apps is store in the data/data/AppName/ folder.
Windows
Before launching into the adb tools, let’s make sure that the Android SDK and NDK are part environment variables. Here’s how to do that:
- Navigate to the System Controls in the Control Panel (Start > Control Panel > System)
- Click on the Advanced systems settings button on the left side.
- You should now be the System Properties window. Click on the Environment Variables… button in the Advanced Tab.
- In the System variables box (the lower box), scroll through the list until you see Path under the Variable column.
- Click on Path to highlight it, then click the Edit… button.
- We are going to add our path to adb, where Xamarin installed the android-sdk. Make sure your curson is at the end of the last entry and then type: *;C:\Users\you\AppData\Local\Android\android-sdk\platform-tools* replacing you with the name of your account. Make sure there aren’t any spaces in this path. If the path to your android-sdk is somewhere custom, replace it with that path.
- Click OK on everything and close the Control Panel if it’s still open.
Open a cmd.exe prompt. Now type adb shell. Make sure you have an Emulator started or a device connected and you should see an adb shell tool similar to that shown above in the Mac instructions. You may use many standard linux commands to get around and mess with files. Note there are a number of special commands for pushing and pulling file on and off the device/emulator. See the Android ADB documentation for a handy list. Data for many apps is store in the data/data/AppName/ folder.
Resetting Emulators
It is rarely necessary to reset the Android Emulators as the entire app is removed between builds. Should you need to reset it, the best way is to delete the entire AVD itself and create a new one from scratch. Open the Android Virtual Device Manager (In Xamarin Studio, navigate to Tools > Open Android Emulator Manager… in the Application toolbar), in the Android Virtual Devices Tab, select the Emulator from the list of AVDs and click the Delete button.
iOS Simulators

The iOS Simulators are a convenient way to quickly test your app with multiple screen sizes, versions of iOS versions, and on different devices. You can access the Simulator by running your app in Debug or Release mode and selecting a Simulator and Devices from the drop-down menu to the right of the Run and Configuration controls.
WARNING
Simulators are NOT a good substitute for testing on actual iOS hardware. App behavior/performance on a device can vary substantially from the Simulator, especially with OpenGL ES 2.0 code.
To install older versions of the iOS Simulator, launch Xcode, and navigate to Xcode > Preferences > Downloads tab > Components section > click small download arrows to the right of the Simulator version you wish to install.
Rotation & Multi-touch
The following key combinations can be used to rotate simulate and simulate multiple touches:
- command + Left/Right arrow keys = Rotate the Simulator
- option + move the cursor around = Simulate two touches
- option + Shift + move the cursor around = Two-touch panning
Simulator File System
The best way to access the contents of the Simulator filesystem is to use a Terminal. In macOS, open a terminal window and navigate to:
~/Developer/CoreSimulator/Devices/<code>/data/Containers/Data/Application/<app UDID number>/
(Remember you can use Tab to autocomplete paths as you change directories - useful for auto-completing the longer app UDIDs).
Alternatively, you can use Finder to navigate to the same folder, but you will have to change your Finder Preferences to show hidden files if you have not done so already.
For more information about where to store temporary or persistent resources, please check out the following Xamarin documentation.
Resetting Simulators
It is often necessary to clean out the entire contents of the simulator between builds, especially those builds in which you have modified or removed resources that may get cached on the simulator. If you want a fresh start, you can reset the simulator to the virtual “factory settings” by navigating to the iOS Simulator > Reset Content and Settings… in the Application menu. Note that this deletes all app data as well as resets the App’s UDID number.
