Your First App (Mac)
macOS only
RhinoMobile: Deprecated
RhinoMobile is no longer supported. Rhino 3dm file I/O is still available on iOS and Android via the rhino3dm library.
This guide presumes you have gone through the Installing Tools (Mac) guide and have successfully installed Xamarin Studio, Xcode, and all the requisite libraries.
HelloRhinoMobile
We are presuming you have never used Xamarin Studio before, so we’ll go through this one step at a time. At the time of this writing we are using Xamarin Studio 5.9.7.
iOS Boilerplate Build
- Launch Xamarin Studio and open the HelloRhinoMobile solution.
- Right-click the HelloRhino.iOS project and select Set As Startup Project from the drop-down menu. This makes HelloRhino.iOS the active project for the build. (HelloRhino.Touch is the iOS target project. (The HelloRhino.Touch projects use monotouch.dll - the older version of Xamarin.iOS).
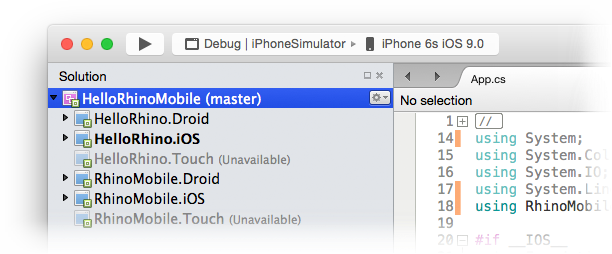
- Verify that the build is set to Debug and the device to iPhone Simulator > iPhone iOS 5 iOS 9. Click the Play/Run button.
- Start a Xamarin Trial. The Xamarin Business Edition allows you to unlock a 30-day trial, which will be necessary for building and using RhinoMobile. You will need to create a Xamarin Login. If you are unable to start a trial after creating a login, don’t worry, Xamarin Studio will prompt you to when you try to build RhinoMobile projects. You may need to clean the project, and build again if you still get errors concerning the evaluation.
- Quit and restart Xamarin Studio.
- From the Xamarin Studio Home Screen, open the HelloRhinoMobile solution again.
- Verify that Xamarin Studio’s full edition has been activated. Navigate to Xamarin Studio > About Xamarin Studio > Show Details. Scroll down and make sure the Xamarin.iOS and Xamarin.Android are set to Trial Edition.
- Close the About Xamarin Studio window.
- Click the Play/Run button again. This time the Build should succeed without errors. (NOTE: The first time you build RhinoMobile.iOS, the libopennurbs library must be compiled. Subsequent builds will be much, much faster). After uploading the app bundle to the Simulator, you should see the following:
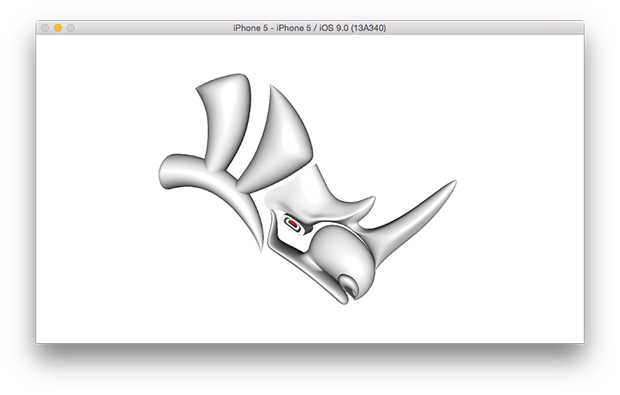
- When you done playing around with the HelloRhino example on the iOS Simulator, click the Stop button in Xamarin Studio to stop the Debug session. Now let’s do an…
Android Boilerplate Build
- Right-click the HelloRhino.Droid project and select Set As Startup Project from the drop-down menu. As expected, this makes the Android project the default project for the build…
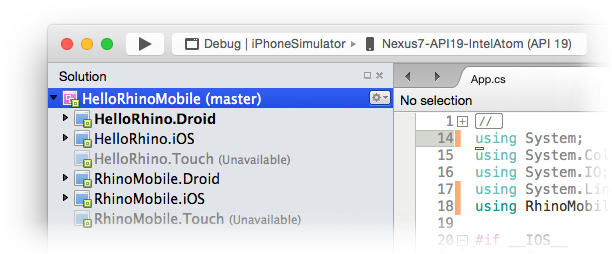
- Verify that the build is set to Debug. The time, the device selection drop-down should be disabled. This is because you don’t have an Emulator setup, so let’s do that now.
- Click the Play/Run button to start the HelloRhino.Droid debug build. (NOTE: The first time you build RhinoMobile.Droid, the libopennurbs library must be compiled…this can take up to 20 minutes. Subsequent builds will be much, much faster).
- The Select Device* window should appear. This is the window where you tell the Android SDK which emulator or device you would like to use for testing. None of the defaults will do, so let’s create a faster emulator…
- Click the Create Emulator button.
- The Android Virtual Device Manager should launch. T his is part of the Android SDK and will be familiar to you if you have done any Android development before. This is where you define your Android Virtual Devices (AVDs) that run in the Emulator.
- Highlight each of the existing AVDs and click the Delete button. These AVDs are much too slow for development.
- To create a new AVD, click the Create button. The Create new Android Virtual Device (AVD) window appears. Create a new AVD with the following parameters. AVD Name: Nexus7-API17-IntelHAXM; Device: Nexus 7; Target: Android 4.2.2 - API Level 17; CPU/ABI: Intel Atom (x86); Front Camera: Webcam0; VM Heap: 64 Emulation Options: Use Host GPU enabled…
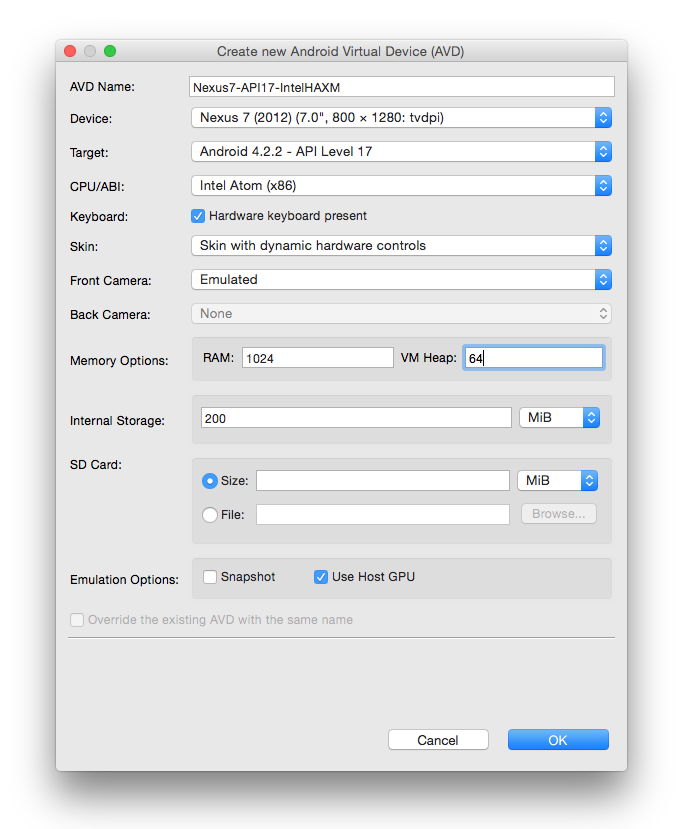
- You should see your new AVD in the list. You have just created your first AVD. More information on creating Emulators can be found in the Android documentation on Managing Devices. You can create as many as you need. Tips on using the Emulator can be found in the [Using Simulators](/guides/rhinomobile/using-simulators/] guide. For the moment, quit the Android Virtual Device Manager and return to Xamarin Studio.
- You should see the Select Device window again, this time with your new AVD in the list. Highlight the AVD and click the Start Emulator button. If all went well, after a brief startup period (take our word for it, it’s much quicker than the standard emulators) you should see Android boot. It may take extra time to launch the first time and it is highly recommended that you leave this window open during your development session. Once Android boots, you are ready to go…you just need to unlock the device by sliding the lock to the right.
- Do not close the Android Emulator. Switch back to Xamarin Studio. In the Select Device window, if the not started label has not already disappeared, click the Refresh button. Once you see the AVD in black, selectable type-face, you know that Xamarin Studio is ready to launch the app on the Emulator. Highlight the AVD and click OK.
- If all goes well, much like on iOS, you should see the following:
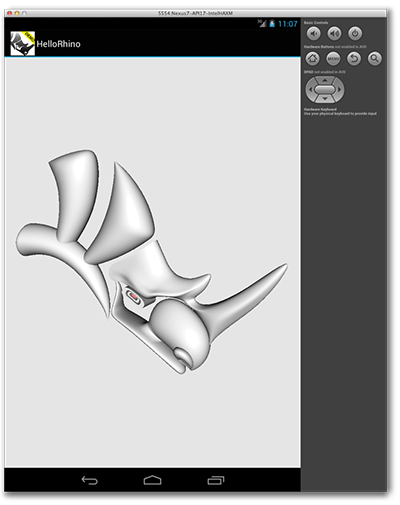
- When you are done playing around with the HelloRhino.Droid build, click the Stop button back in Xamarin Studio to stop the debug session.
Congratulations! You’ve built a RhinoMobile app for two platforms with shared code.

