Overview
Prompting the user of a script for the input of a value, selecting a layer, picking a point or selecting a Rhino object is important to many interactive scripts. Many input methods will also validate the user input to make sure only the proper input is accepted.
The RhinoscriptSyntax module contains many ways to interactively prompt for several different types of input. There are three main styles of input that are contained in Rhinosciptsyntax:
- Get methods. These are methods that work with the command line, wait for mouse input or prompt for specific input.
- Special Dialogs. There are some simple specific dialogs to prompt for input
- File system dialogs. Browsing, saving and opening files on the system with Python.
- Eto Custom Dialog Framework. A cross-platform dialog framework to create more custom modal and non-modal dialog box classes that can be used in scripts.
The GET methods
Get are basic ways to prompt for specifc user feedback on the commandline and mouse input. Good examples of a Get might be get a point, a string, or a distance. There are 25 get methods that can
- Commandline Gets - GetReal, GetString, GetInteger, GetBoolean
- Interactive Gets - GetPoint(s), GetPointCoordinates, GetLine, GetDistance, GetAngle, GetPolyline, GetRectangle, GetBox, GetCursorPos.
- Geometry Gets - GetObject, GetCurveObject, GetSurfaceObject, GetEdgeCurves, GetMeshFaces, GetMeshVertices, GetPointOnCurve, GetPointOnMesh, GetPointOnSurface.
Command Line gets
The simplest Get function is to ask for a specific value on the command line. For instance a Get method may prompting for a number on the command line with rs.GetReal().
Getreal()
import rhinoscriptsyntax as rs

# GetReal prompts on the command line with optional defaults and a minimum allowable value
radius = rs.GetReal("Radius of new circle", 3.14, 1.0)
if radius: rs.AddCircle( (0,0,0), radius )

rs.GetReal() accepts any number, including decimals. In some cases your code may need only whole numbers- in this case use rs.GetInteger()
The other command line gets are GetString, GetInteger, and GetBoolean. They all work essentially the same as GetReal.
Interactive gets
GetPoint()
Some Get functions will prompt on the commandline and also allow for input from the mouse. A typical interactive get is rs.GetPoint()` to ask the user for a single point location. AS an example, let’s say you would like to prompt for the center of a circle. The default prompt of GetPoint is “Pick point”, but you can specify a different prompt, for example, “Set center point” depending on what you wish to convey to the user.
pt = rs.GetPoint("Set center point")
If the function succeeds, a Rhino point is returned, which can be treated as a list of three numbers representing the world x, y and z coordinates of the point.
import rhinoscriptsyntax as rs
pt = rs.GetPoint("Click to get information about a point location")
if pt is not None:# note it is a good idea to check if there is a result you can use
    print "That point has an x coordinate of " + str(pt[0]) # when you build a string that includes elements that are not text, convert to a string with str()
GetPoints()
Use rs.GetPoints() to ask the user for multiple point locations. As in rs.GetPoint(), all parameters are optional. Note that there is a separate prompt for the first point, and a second one for subsequent points.
You need to set the parameters in order, separated by commas. If you do not want to specify a parameter at all, and accept the default, you can leave it out but you must then specify any following parameters explicitly using the parameter name. For example, this will not work to set a custom first prompt:
import rhinoscriptsyntax as rs

pts = rs.GetPoints(  "Set the first point", "Set the next point")
Why? because the function has two parameters that come before the first prompt, ‘draw_lines’ and ‘in_plane’. If you leave these out, you must specify what parameters you are setting explicitly in order for it to be recognized:
import rhinoscriptsyntax as rs
pts = rs.GetPoints(  message1= "Set the first point", message2= "Set the next point")
You could also make sure to set the other parameters even if you don’t care what they are i.e. defaults are OK:
import rhinoscriptsyntax as rs
pts = rs.GetPoints( None, None, "Set the first point", "Set the next point")
Many of the interactive get functions also allow a first point to be placed. This way a rubber band line is drawn from the point to the cusor, emulating a drawn line.
import rhinoscriptsyntax as rs

point1 = rs.GetPoint("Pick first point")

#By adding the first point to this prompt, a line is interactively drawn.
point2 = rs.GetPoint("Pick second point", point1)
The interactive gets have more options on how the input is filtered from the mouse. For details on all the Get functions in RhinoScriptSyntax for Python go to the RhinoScriptSyntax User interface methods. Additional interactive gets include: GetLine, GetDistance, GetAngle, GetPolyline, GetRectangle, GetBox, GetCursorPos.
Geometry Gets
Geometry gets are used to pick geometry off the screen or related geometry off an existing objects. Be aware the Gemetry gets can pass very different values back from the functions. So, take special note on what is being returned by these functions. In addition to object identifiers there may be additional information on what was selected and how it was selected.
GetObject()
The basic get for an Object in the scene is the GetObject() function. GetObject will return the Guid of the object selected. Guids are identifiers of existing geometry items that can be used in other RhinoScriptSyntax functions to identify the objects.
import rhinoscriptsyntax as rs
objectId = rs.GetObject("Pick any object")
if objectId: print objectID
Like other Geometry gets, there are optional arguments to filter out unwanted selection by type. The example below will only allow curves and surfaces to be selected.
objectId = rs.GetObject("Pick a curve or surface", rs.filter.curve | rs.filter.surface)
if objectId: print objectID
Additional geometry gets are: GetCurveObject, GetSurfaceObject, GetEdgeCurves, GetMeshFaces, GetMeshVertices, GetPointOnCurve, GetPointOnMesh, GetPointOnSurface.
Special Dialogs
The Dialog methods in RhinoScript syntax are used to prompt of with generic custom information. Dialogs can be used to draw more attention to a required interaction with the user. Dialogs generally interrupt the workflow - the script cannot continue until the dialog is dealt with by the user.
MessageBox()
The simplest dialog box is the rs.MessageBox() function. The rs.MessageBox() comes with many options to customize the buttons based on your needs:
import rhinoscriptsyntax as rs

rs.MessageBox("Hello Rhino!") # Simple message dialog
rs.MessageBox("Hello Rhino!", 4 | 32) # A Yes, No dialog
rs.MessageBox("Hello Rhino!", 2 | 48) # An Abort, Retry dialog
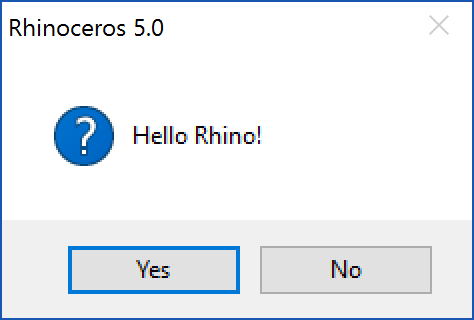
Note that rs.MessageBox() returns a value - you can set a variable to record the result from a message box so that you can tell which button the user has clicked.
import rhinoscriptsyntax as rs

button = rs.MessageBox("Hello Rhino!", 2 | 48) # An Abort, Retry dialog
The value of ‘button’ in the code above will tell the script which button was clicked and it can proceed appropriately. See the Rhino IronPython Help for details on the available buttons and the return codes from rs.MessageBox()
ListBox()
Some of the more advanced dialogs can be populated with custom selections:
import rhinoscriptsyntax as rs

options = ('First Pick', 'Second Pick', 'Third Pick')

if options:
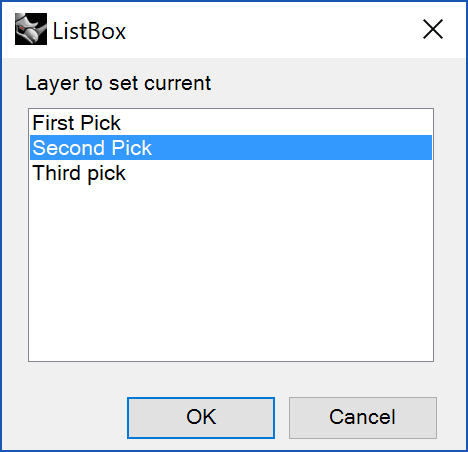
    result = rs.ListBox(options, "Pick an option")
    if result: rs.MessageBox( result + " was selected" )
Will result in:
Pre-defined dialog box methods:
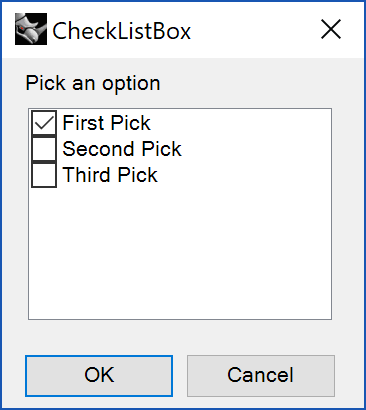
CheckListBox - Displays a list of strings in a checkable list. The user can pick multiple items.
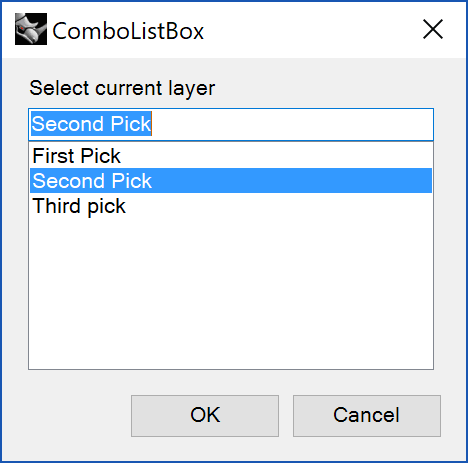
ComboListBox - Displays a list of strings in a combo list.
EditBox - Displays a dialog box with a multi-line edit control.
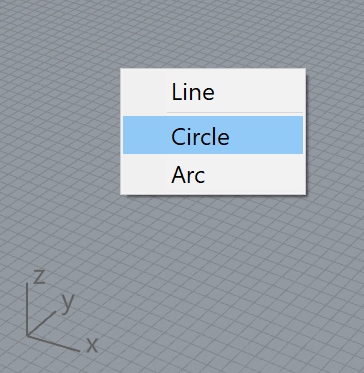
PopupMenu - Displays a context-like popup menu.
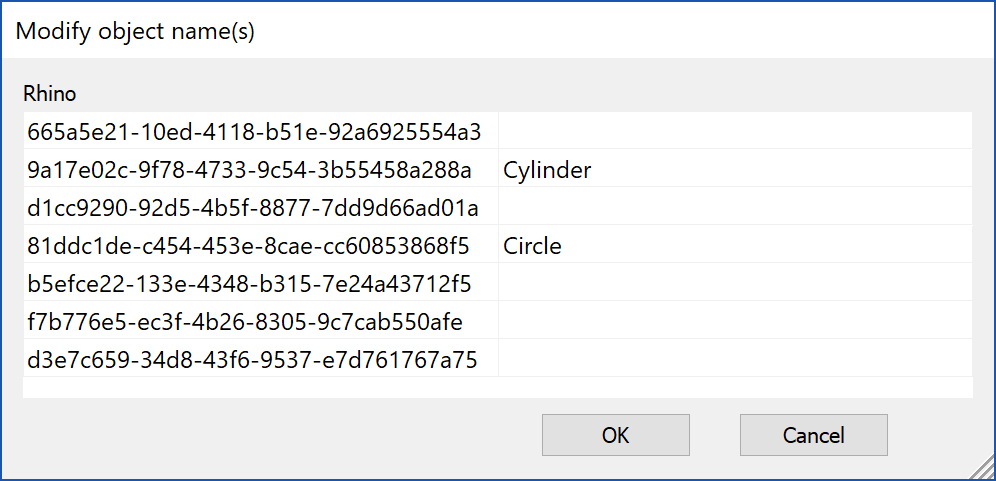
PropertyListBox - Displays a list of items and values in a property list.
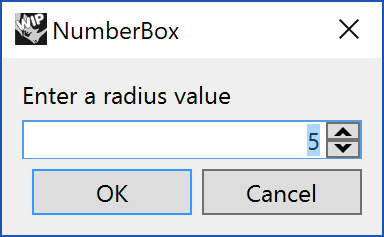
RealBox - Displays a dialog box prompting the user to enter a number.
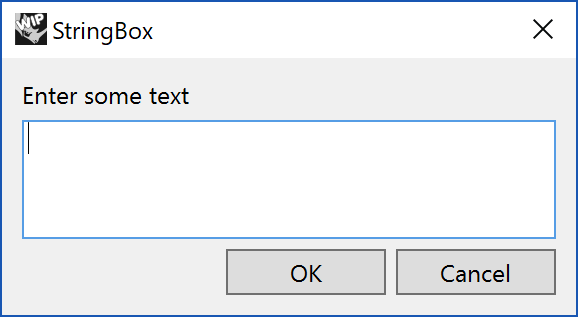
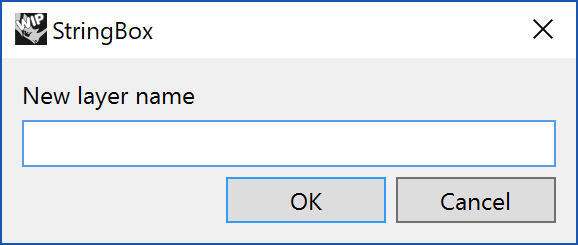
StringBox - Displays a dialog box prompting the user to enter a string.
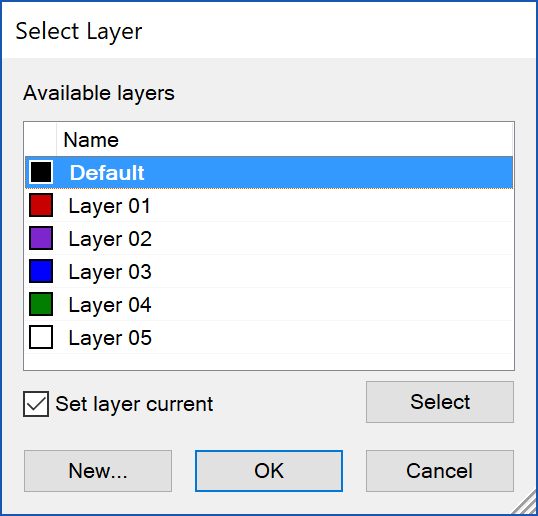
GetLayer - Displays dialog box prompting the user to select a layer
For details on all the dialog box functions in RhinoScriptSyntax for Python go to the RhinoScriptSyntax User interface methods
File System dialogs
Working with files and folders on the computer take a special class of dialogs.
import rhinoscriptsyntax as rs

filename = rs.OpenFileName()
if filename: rs.MessageBox(filename)
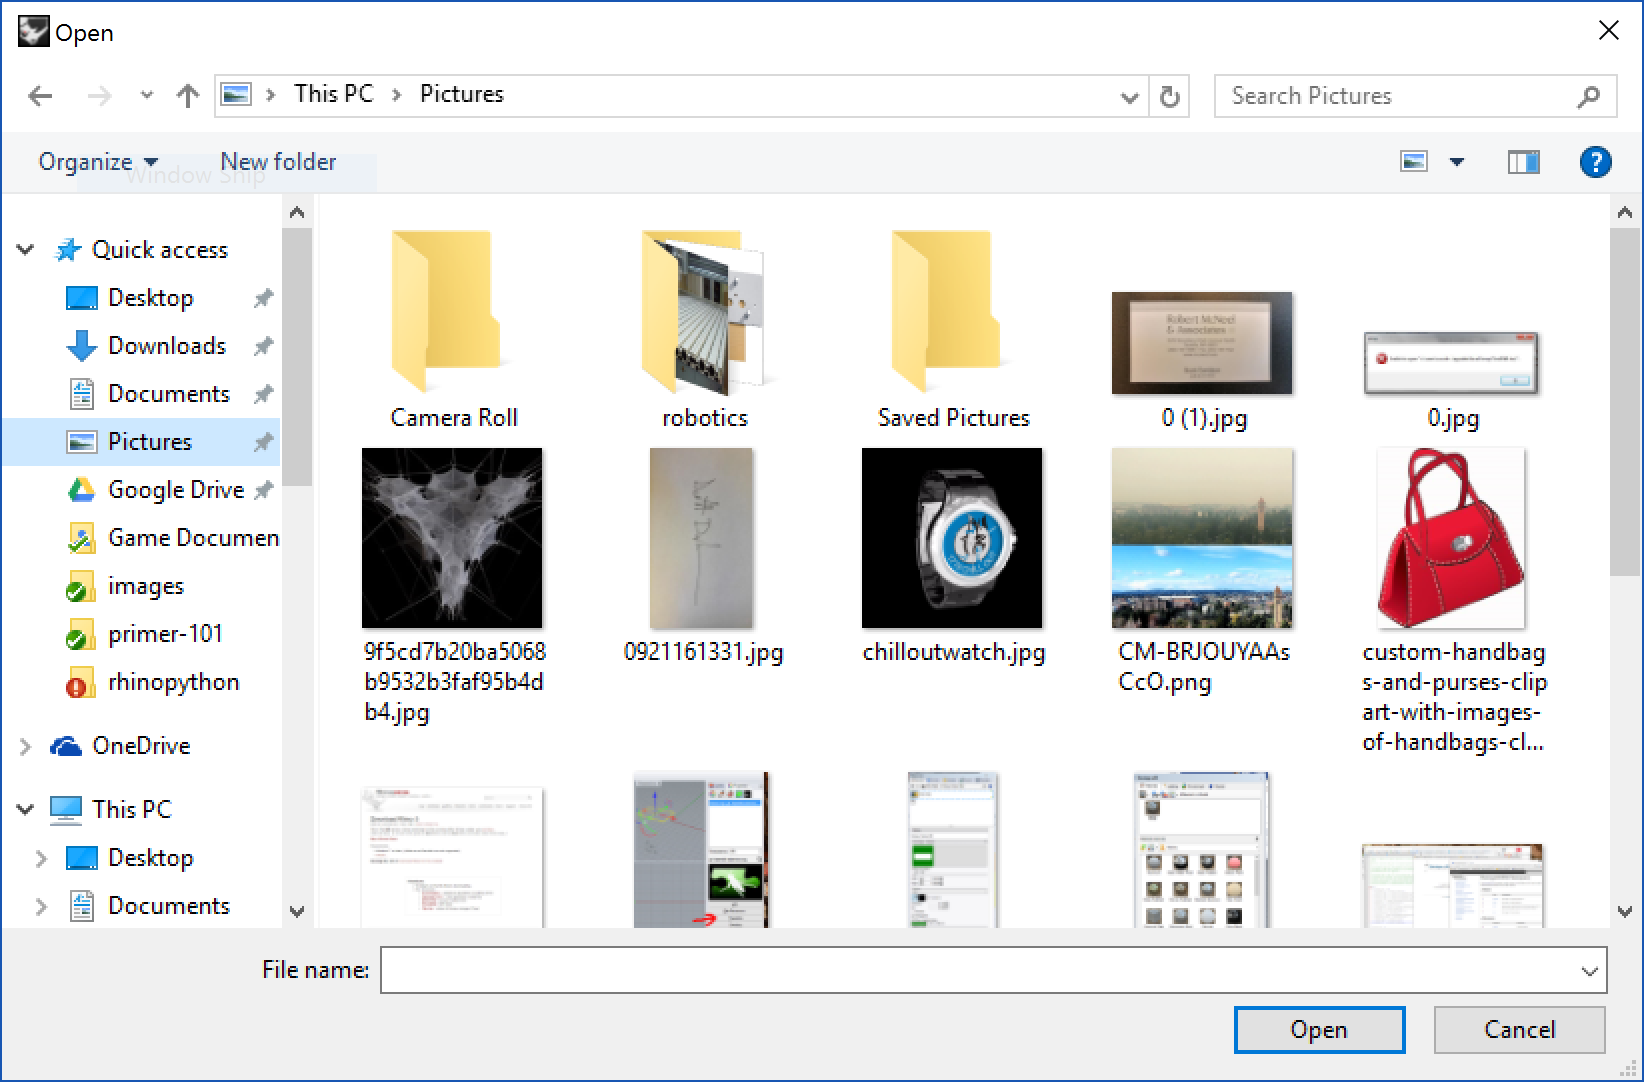
Additional File System Dialogs
| Method | Description | ||
|---|---|---|---|
| BrowseForFolder | Displays a Windows browse-for-folder dialog box. | ||
| OpenFileName | Displays a Windows file open dialog box. | ||
| OpenFileNames | Displays a Windows file open dialog box. | ||
| SaveFileName | Displays a Windows file save dialog box. |
For a complete detailed sample see the How to read and write a simple file guide.
Eto Custom Dialog Framework
Eto is an open source cross-platform dialog box framework available in Rhino 6. Eto can be used to create advanced dialog boxes from within C#, C++ and Rhino.Python.
If the pre-defined dialogs above are not enough for your purposes, a Eto dialog might be the right solution.
As an example, here is a custom collapsing dialog that uses many controls:
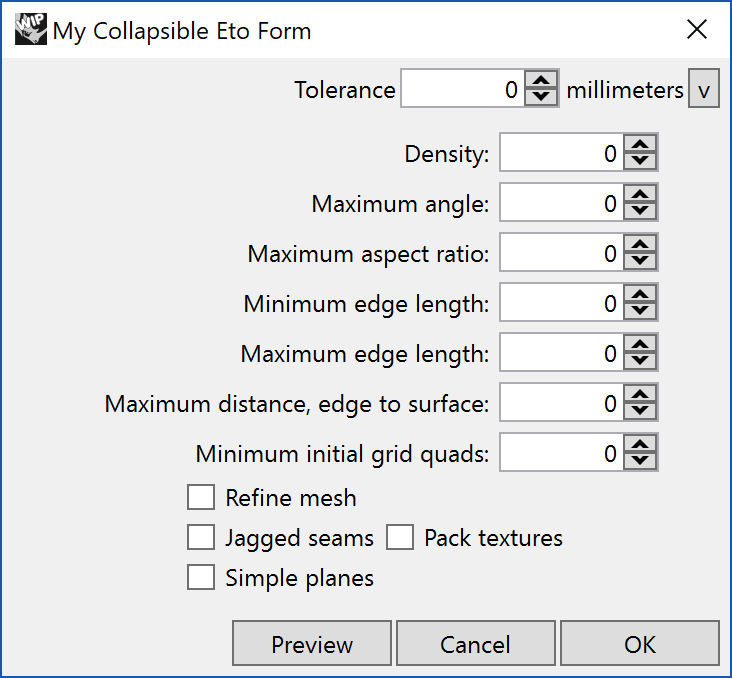
Eto is very powerful, but that power comes with more sophisticated Python syntax. Understanding how best to write, organize and use Eto dialogs will take some work. To start learning about the Eto framework in Python, go to the Eto Forms in Python guide.

