
Overview
In this guide, we will walk through the process of creating a valid SSL certificate so that Rhino.Compute can communicate with clients using the HTTPS protocol.
Prerequisites
The following must be completed:
-
You must have an active virtual machine (VM) instance. Use the following guides to walk through setting up a VM.
-
The VM must be accessible to the web (open port 80, and 443).
-
A static public IPv4 address must be associated with your virtual machine. To learn more about configuring static IP address, use the following links:
-
You must have an existing domain and have access to its DNS settings. An A record in your DNS settings must point to the public IPv4 address of your virtual machine.
Modify the Host Name
Before we step through the process of generating an SSL certificate, we need to make one modification to our existing IIS configuration for Rhino.Compute.
-
If you have not already done so, log into your VM (via RDP). See the section Connect via RDP for more details.
-
On the Start menu, click in the search area and type Internet Information Services (IIS) Manager. Click to launch the app.
-
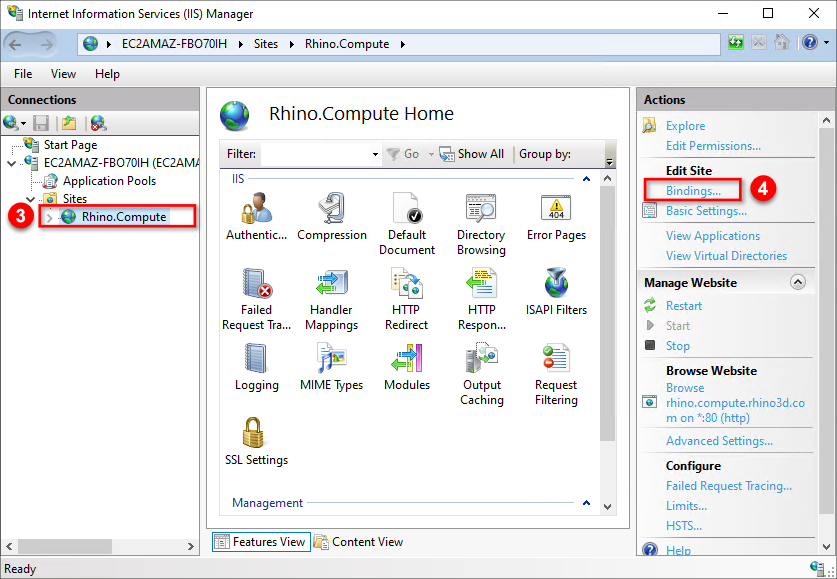
In the IIS Manager, click on the web server node in the Connections panel on the left to expand the menu tree. Then click on the Sites node to expand the sub-menu. Lastly, select the Rhino.Compute node from the menu tree to adjust its settings.
-
In the Actions pane on the right, click Bindings.
-
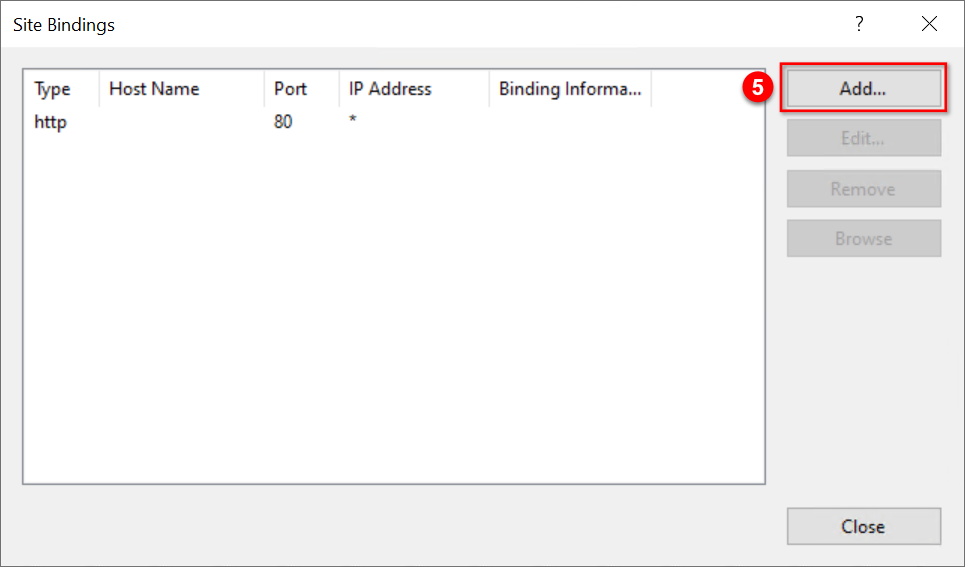
In the Site Bindings pane, select the Add button.
-
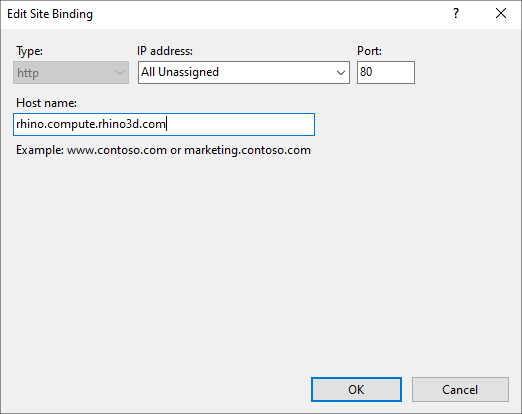
In the Host name text field, type in the subdomain name that you created when setting up the A-Record. Click OK when done.
-
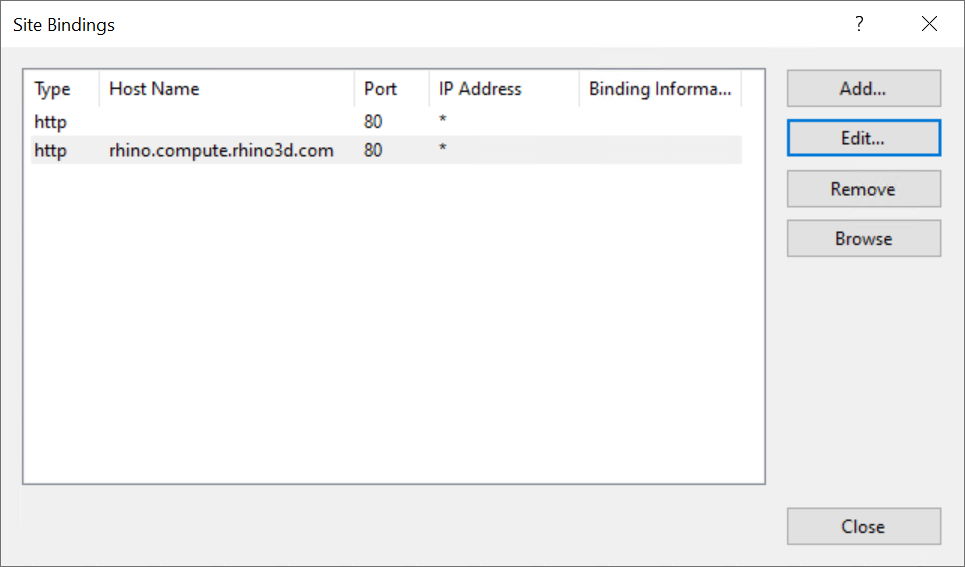
At this point, you should have two site bindings listed. Click Close when done.
Generate the Certificate
The next step in the process is to create and install an SSL certificate for the local IIS server. An SSL certificate is a digital certificate that authenticates a website’s identity and enables an encrypted connection. It is required in order to use the HTTPS protocol.
To generate the certificate, we recommend using Win-ACME. Win-ACME is a simple interactive client which can create and install the certificate as well as handle renewing the certificate when needed.
-
Download the Win-ACME Client on the virtual machine. Note: Win-ACME is distributed as .zip file.
-
Right-click on the download .zip file and select Extract All. It doesn’t really matter what directory you choose to extract the files to as we will manually move/rename them in the next step. Click Extract.
-
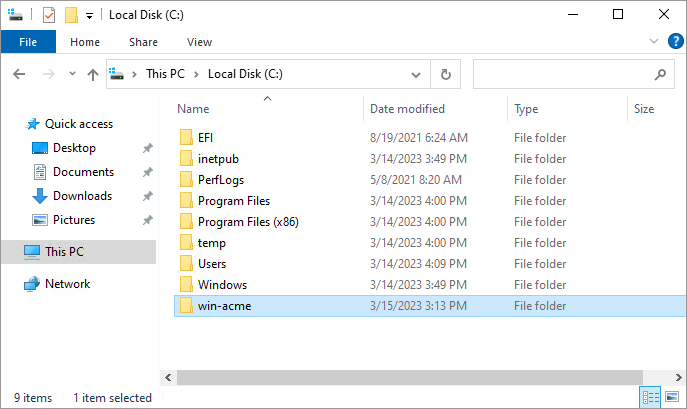
Select the newly extracted directory and type Ctrl+X to Cut and then Ctrl+V to Paste this folder into the root C:\ drive.
-
Now, right-click on the directory that you just copied to the C:\ drive and select Rename from the menu. Shorten the folder name to just “win-acme”.
-
Click on the Windows Start menu and type in “Powershell”. In the menu that appears, right-click on the Windows Powershell app and choose Run As Administrator.
-
Type in the following command and hit Enter to launch the Win-ACME application.
C:\win-acme\wacs.exe
-
You should see an interactive menu appear with a set of instructions which can be run by typing in a specific letter.
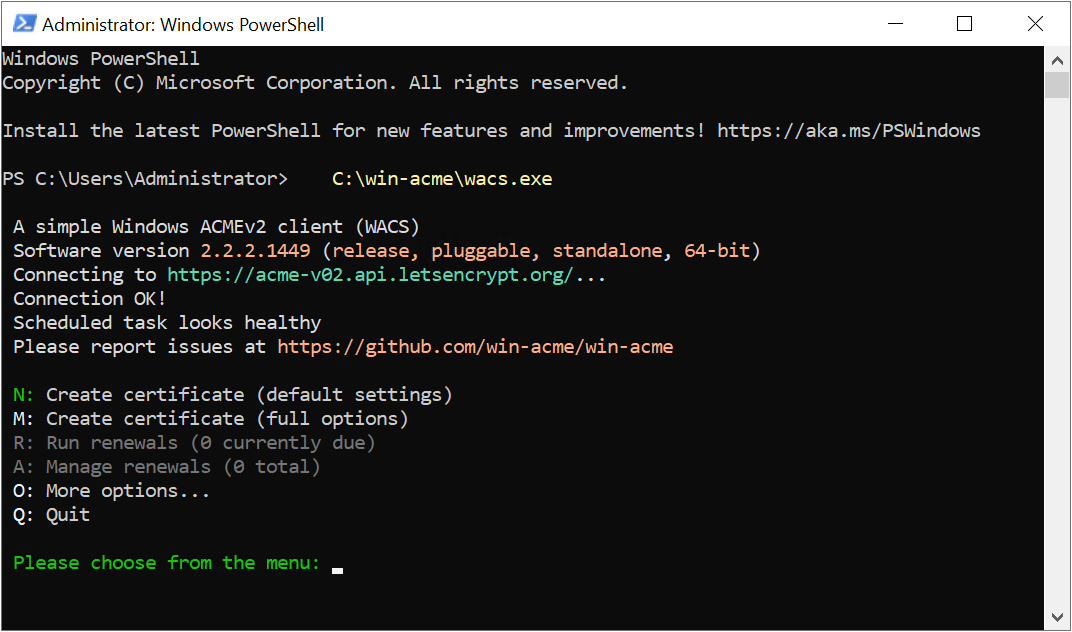
-
Type the letter N and hit Enter to create a certificate with the default settings. You should see a list of available IIS sites that are available. If you do not see an entry for Rhino.Compute (1 binding) then it is likely that you have not set the host name correctly in the previous step. See the section on modifying the host name.
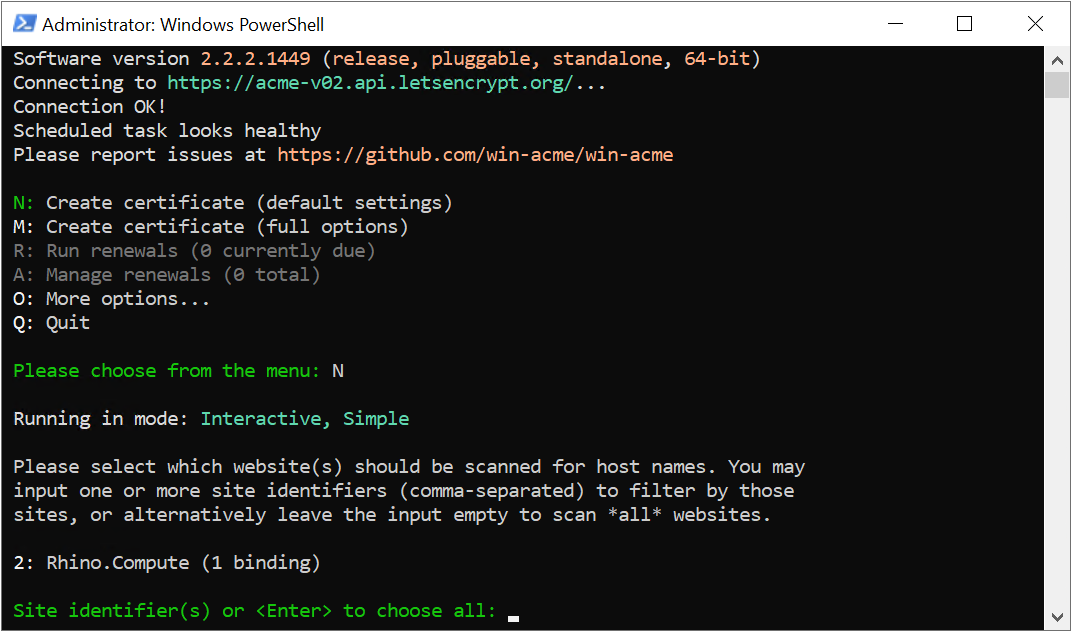
-
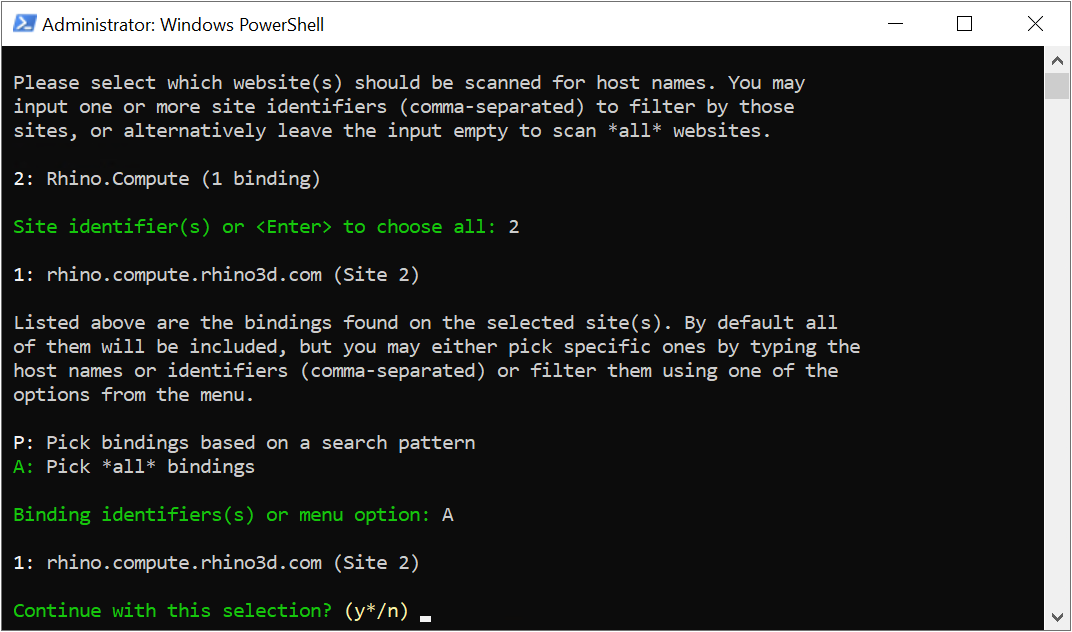
Type the number associated with the row for Rhino.Compute (1 binding) and hit Enter.
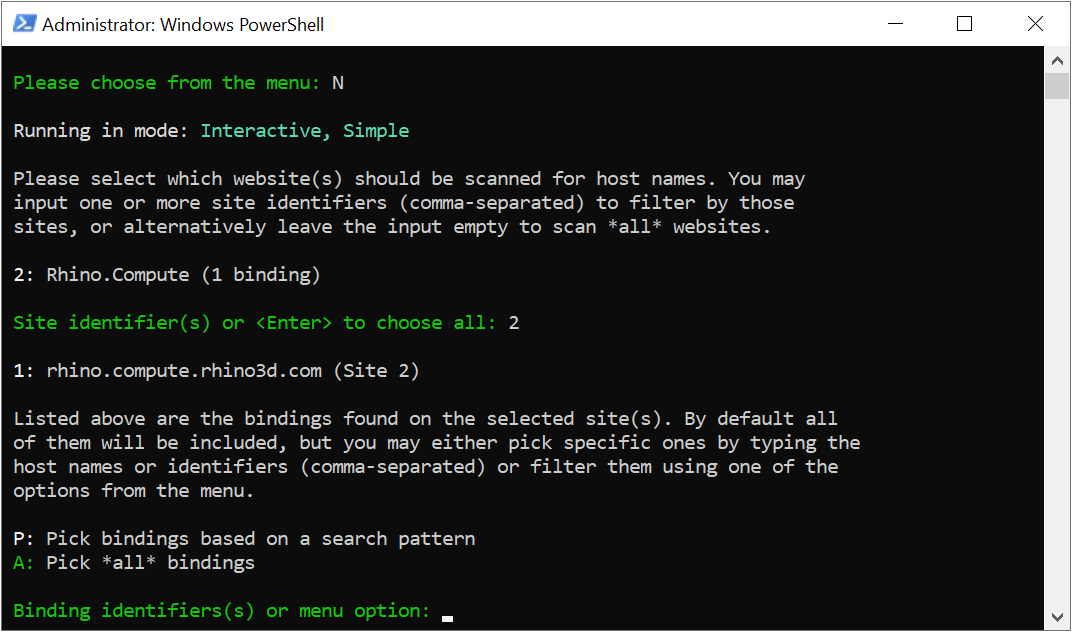
-
Hit Enter again to accept the default Pick all bindings.
-
When prompted to Continue with this selection? hit Enter or type Y for yes.
-
You should see some information printed to the console as it generates the SSL certificate.
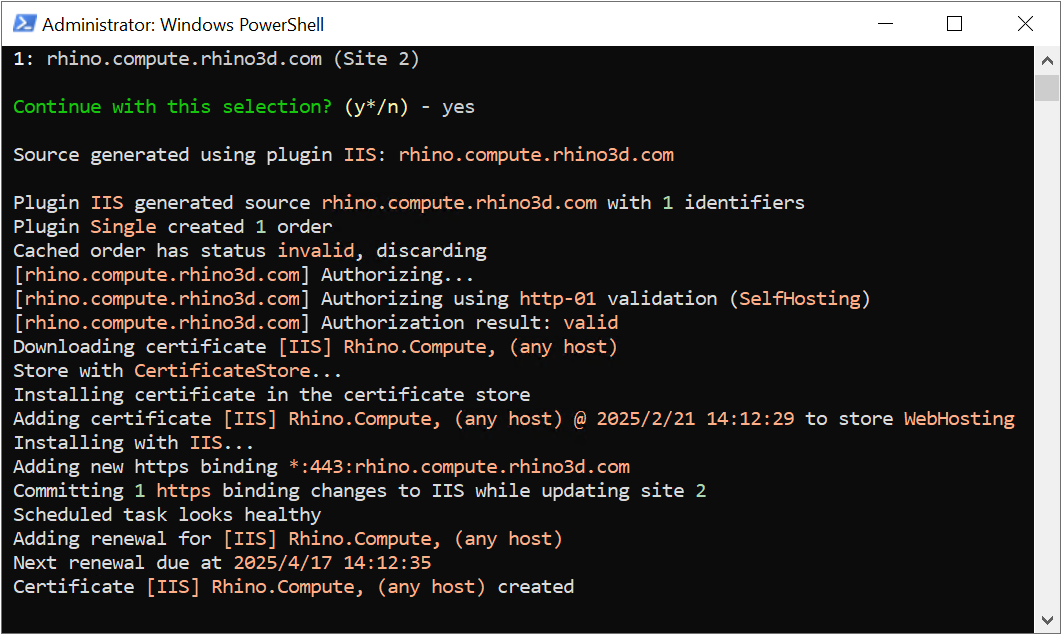
Congratulations. If successful, the application will then run a series of authorization and validation tests to confirm host is secure. Win-ACME will then generate the SSL certificate and install it with IIS and add a new binding (*:443) to the Rhino.Compute site. The SSL certificate will be valid for 90 days. However, the Win-ACME application will create a task scheduler which will try to renew the certificate after 60 days. You should now be able to send an HTTPS request to your Rhino.Compute server and get a valid response back.
