
It is presumed you already have the necessary tools installed and are ready to go. If you are not there yet, see Installing Tools (Mac).
HelloRhinoCommon
We will use Visual Studio Code to create a new, basic, command plugin called HelloRhinoCommon.
We are presuming you are new to Visual Studio Code, so we’ll go through this one step at a time.
Download the required template
- Launch Visual Studio Code.
- Open Visual Studio Code’s Terminal via Terminal (menu entry) > New Terminal, or using the command palette (⌘ ⇧ P) and search for “Terminal”.
- Inside Terminal, run:
dotnet new install Rhino.Templates
Starting the Project
- Create a folder on your mac where you would like your project to live. Name the folder
HelloRhinoCommon. - If you have not done so already, launch Visual Studio Code.
- Now we can open our new folder, navigate to File > Open Folder and choose the folder we just created.
- Open Terminal via Terminal > New Terminal, or using the command palette (⌘ ⇧ P) and search for “Terminal”.
- Enter the following command into the Terminal:
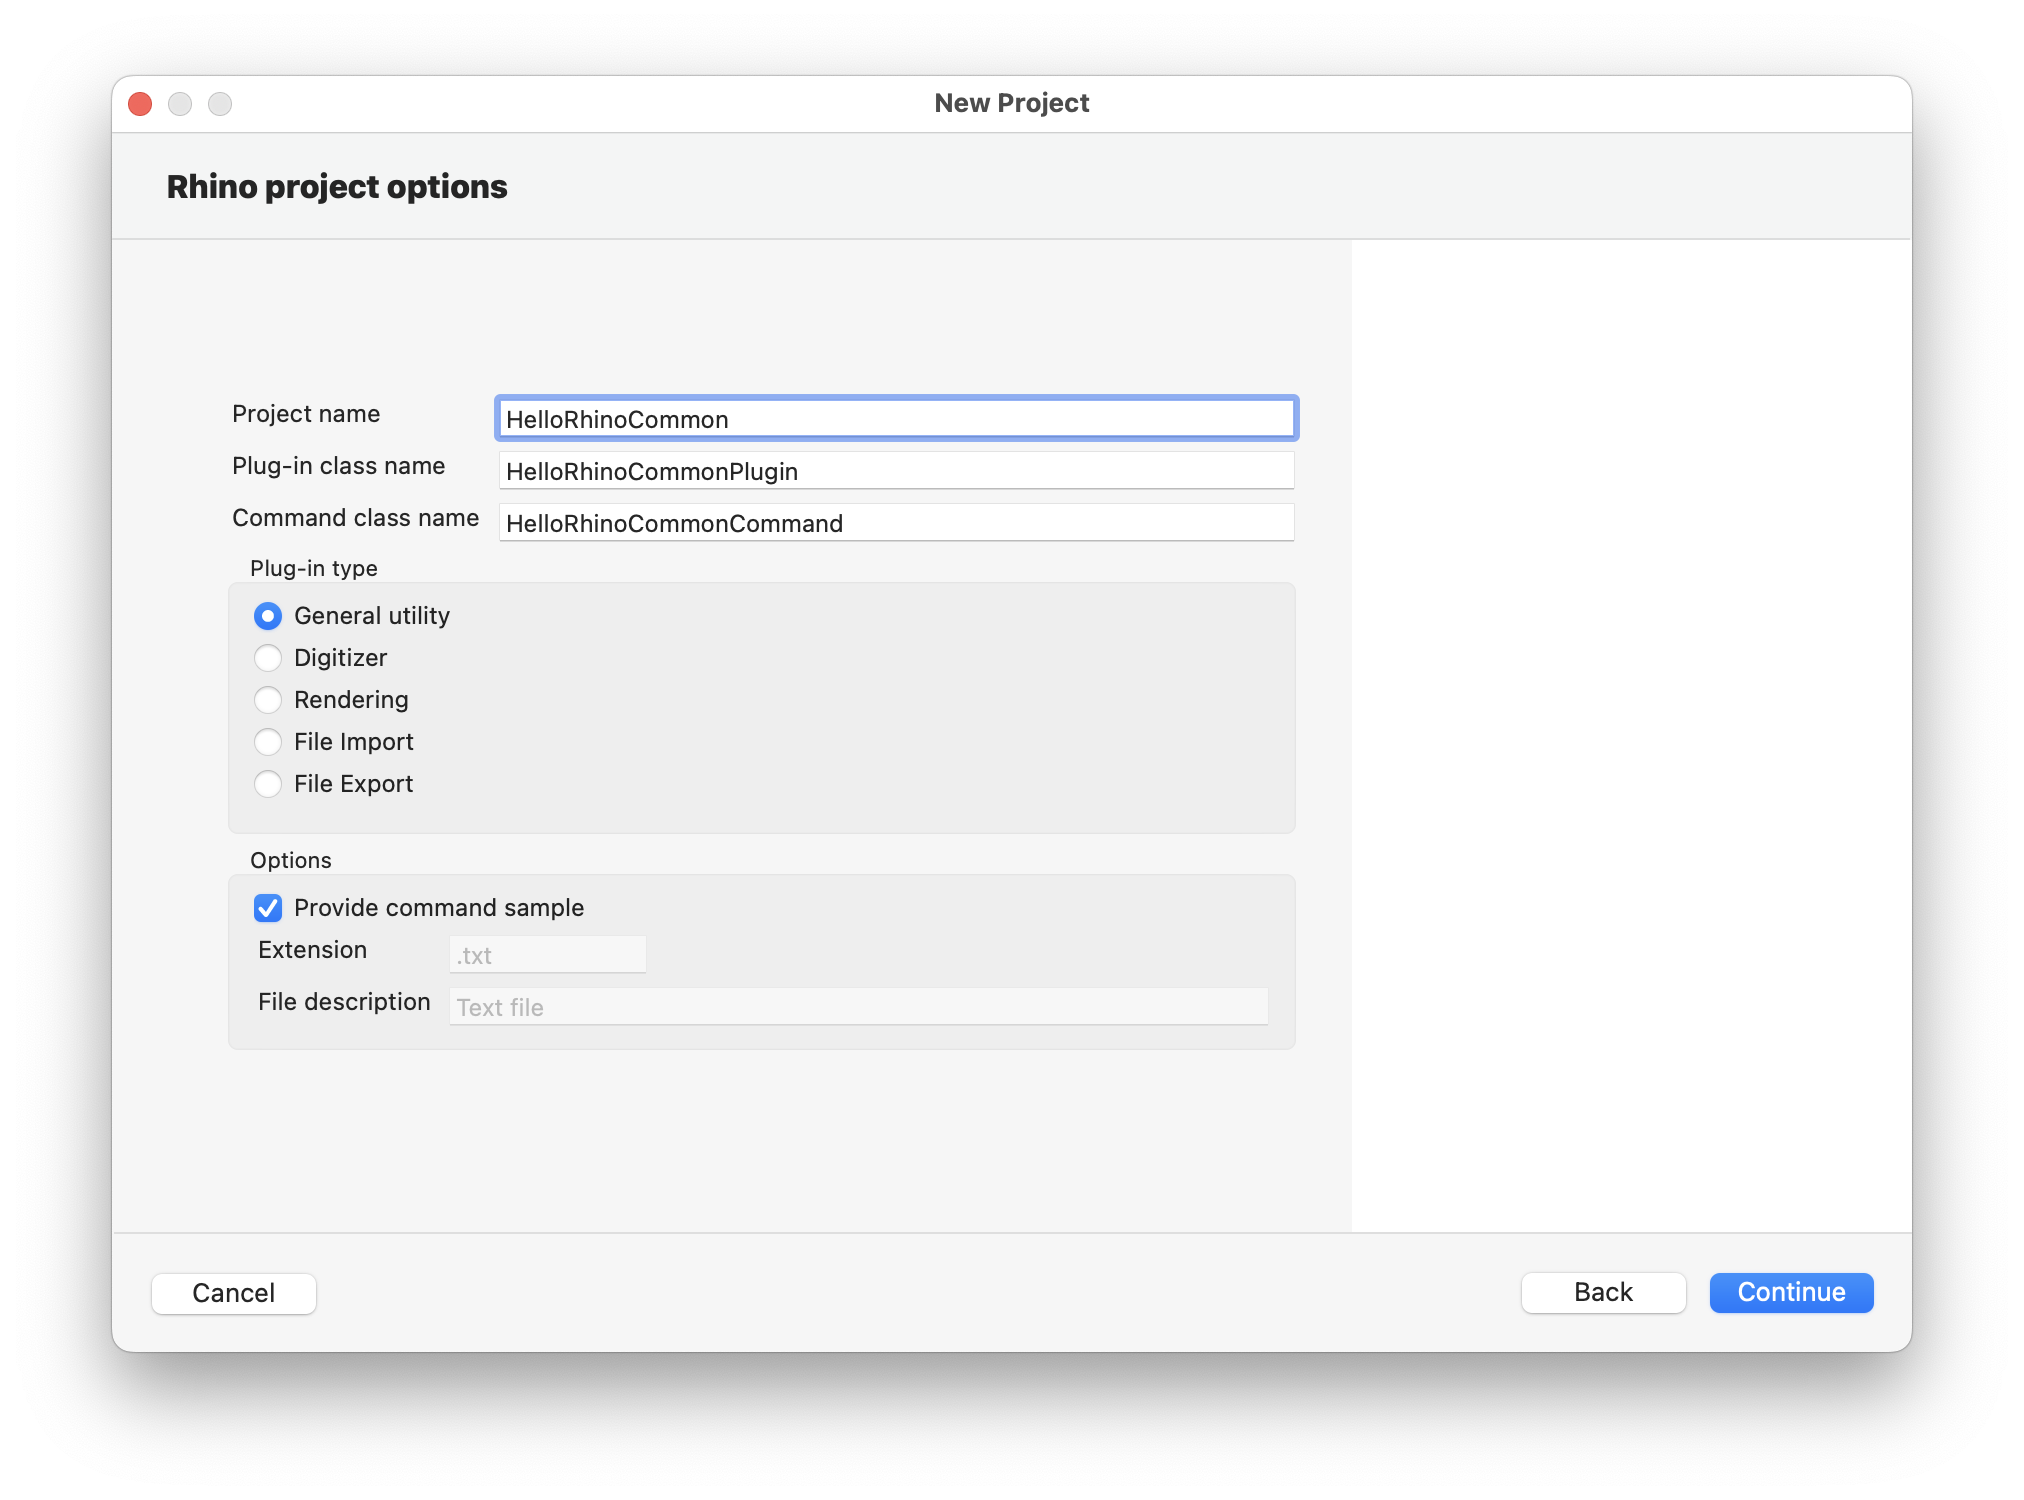
dotnet new rhino --version 8 -sample - In our Folder explorer, we should see the project appear as Visual Studio Code discovers the files.
- Expand the Solution Explorer, this is the best way to interact with C# projects on Mac in Visual Studio Code.
Boilerplate Build
-
Before we do anything, let’s Run and Debug HelloRhinoCommon to make sure everything is working as expected. We’ll just build the boilerplate Plugin template. Click the Run and Debug button on the left hand side of Visual Studio Code and then the green play button in the newly opened panel.
-
Rhinoceros launches. Click New Model.
-
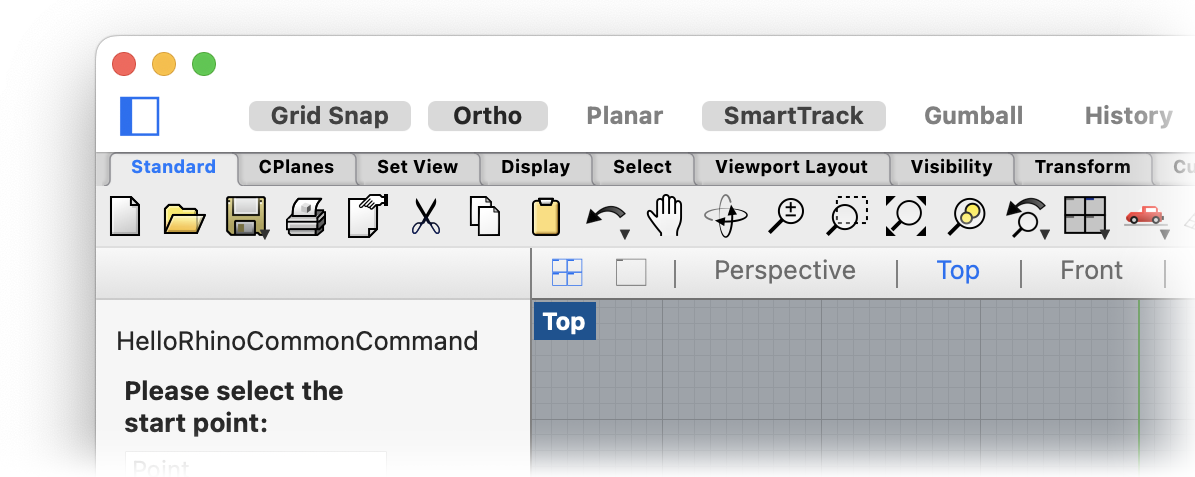
Type
Hellointo the Rhino Commandline. Notice that the command autocompletes.
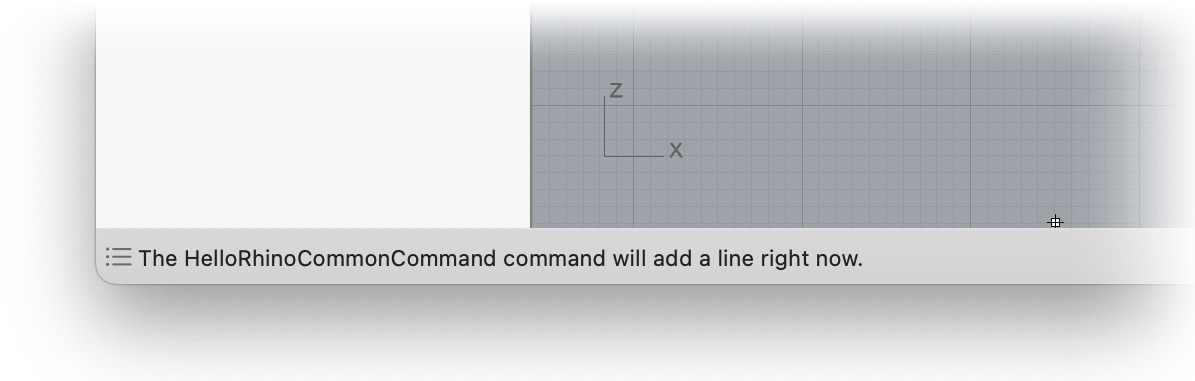
- The HelloRhinoCommonCommand command lets us draw a line, and then prints out a message
- Press Stop Debugging (⇧ F5), in Visual Studio Code, signified by the Red Square in the debug toolbar. This stops the debugging session. Go back to Visual Studio Code. Let’s take a look at the Plugin Anatomy.
Plugin Anatomy
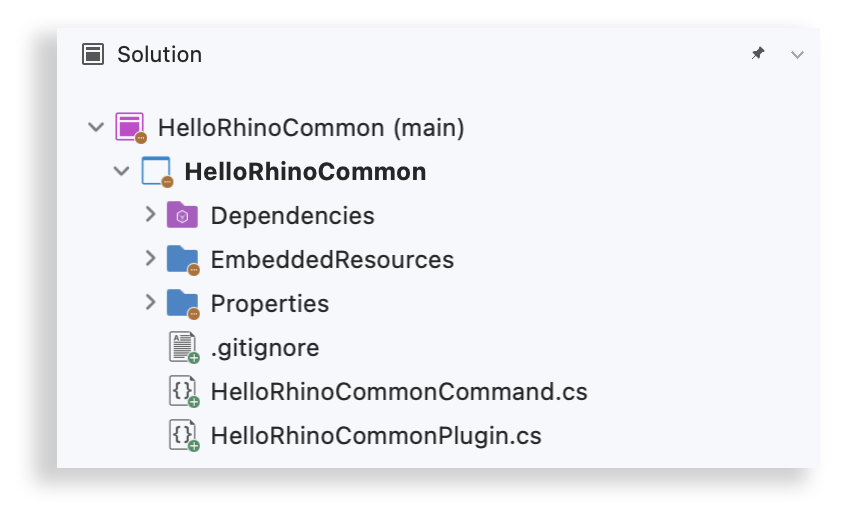
- Use the Solution Explorer to expand the project so that it looks like below.

- The HelloRhinoCommon solution (.sln) contians all of our projects. This was created for us by the
dotnetcommand we ran earlier. - The HelloRhinoCommon project (.csproj) has the same name as its parent solution. This is the project that was created for us by
dotnetcommand we ran earlier. - Dependencies: Just as with most projects, you will be referencing other libraries. The RhinoCommon Plugin template added the necessary references to create a basic RhinoCommon plugin.
- EmbeddedResources: This is where you would place any image assets you want to ship with your plugin. The RhinoCommon Plugin template added an icon file with a default boilerplate icon.
- Properties contains the AssemblyInfo.cs source file. This file contains the meta-data (author, version, etc), including the very-important
Guid, which identifies the plugin. - HelloRhinoCommonCommand.cs is where the action is. Let’s take a look at this file in the next section below…
- HelloRhinoCommonPlugin.cs is where this template plugin derives from Rhino.Plugins.Plugin and returns a static Instance of itself.
Make Changes
- Open HelloRhinoCommonCommand.cs in Visual Studio Code’s Source Editor (if it isn’t already).
- Notice that
HelloRhinoCommonCommandinherits fromRhino.Commands.Command
public class HelloRhinoCommonCommand : Rhino.Commands.Command
- And that it overrides one inherited property called
EnglishName
public override string EnglishName => "HelloRhinoCommonCommand";
- All Rhino commands must have an
EnglishNameproperty. This command name will become inaccurate soon, as we’re going to spice up our quite pointless command. Let’s rename the command to HelloDrawLine:
public override string EnglishName => "HelloDrawLine";
- Further down, notice that
HelloRhinoCommandCommandoverrides theRunCommandmethod:
protected override Result RunCommand (Rhino.RhinoDoc doc, RunMode mode)
- And then type in the following by hand on line 62 to get a feel for the editor.
RhinoApp.WriteLine("I'm writing my first Rhino Plugin!");
- Notice that - as you type - Visual Studio Code uses IntelliSense, just like Visual Studio for Windows (and many other editors).
Debugging
- Set a breakpoint on line 59 of HelloRhinoCommonCommand.cs. You set breakpoints in Visual Studio Code by clicking in the gutter to the left of the line numbers.

- Run and Debug. our project. The breakpoint will become an empty circle, this is because our code has not been loaded yet. Once we hit the breakpoint once and continue, the code will be loaded until we end our Debug session.
- Click New Model. And then run our HelloDrawLine command. Create the two points and as soon as you do, you should hit your breakpoint and rhino will pause
- With Rhino paused, in Visual Studio Code we will see Locals under Variables. In the list, find the
pt1object we authored. Click the dropdown arrow to expand the list of members onpt1.
Ourpt1is aRhino.Geometry.Point3dthis class has anX,Y,Zproperty just as we’ll find documented in the RhinoCommon API.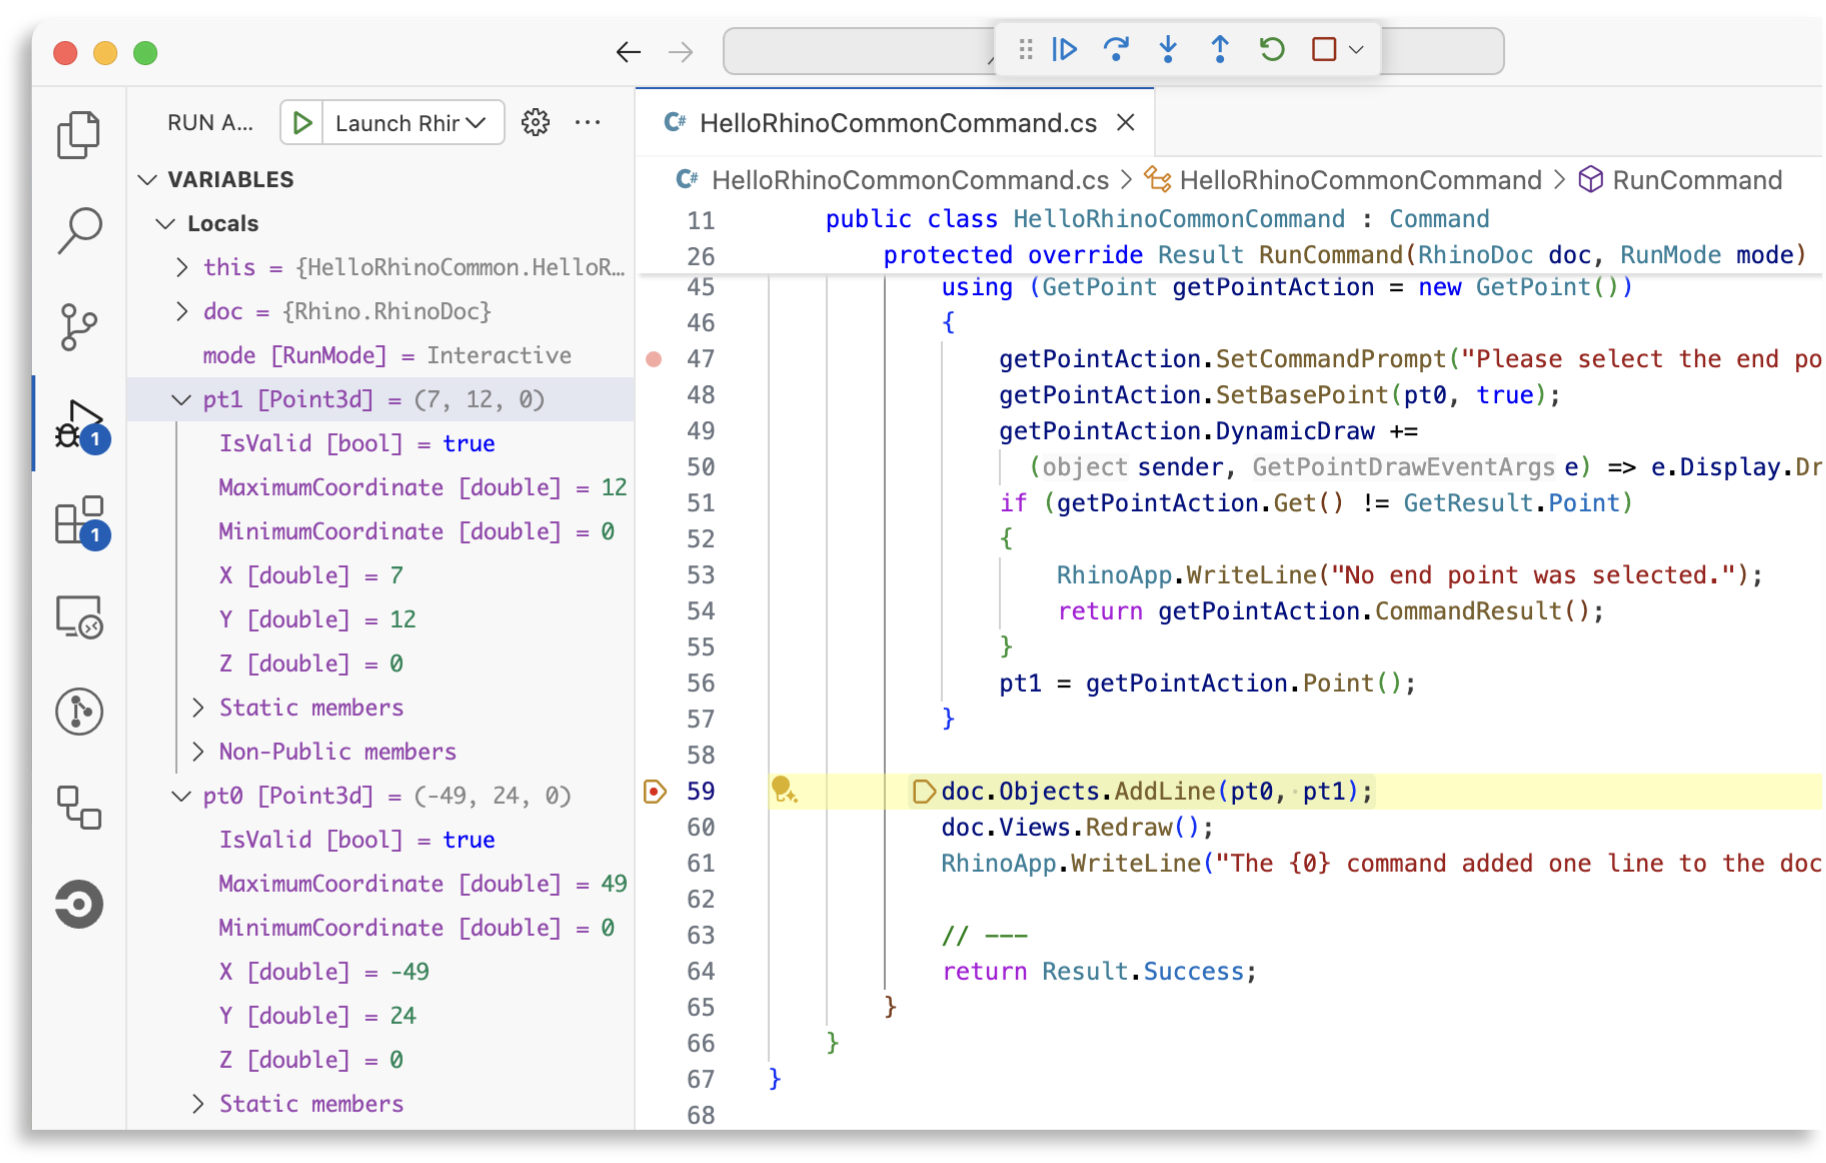
- Let’s Continue Execution in Rhino by pressing the Green Play button in the Debug Bar
- Control is passed back to Rhino and your command finishes. Quit Rhino or Stop the debugging session.
Congratulations! You have just built your first RhinoCommon plugin for Rhino for Mac. Now what?
Next Steps
If you’d like to push your exciting new plugin to Yak so that everyone can use it, check out the Creating a Yak Package guide.
If you’d like to collaborate with colleagues and friends commit your plugin to a git repo. Getting started with GitHub.
dotnet new gitignore will add a gitignore file so unnecessary files will not be committed.
Try debugging your new plugin on Windows, all plugins using the new templates are now cross-platform by default.
